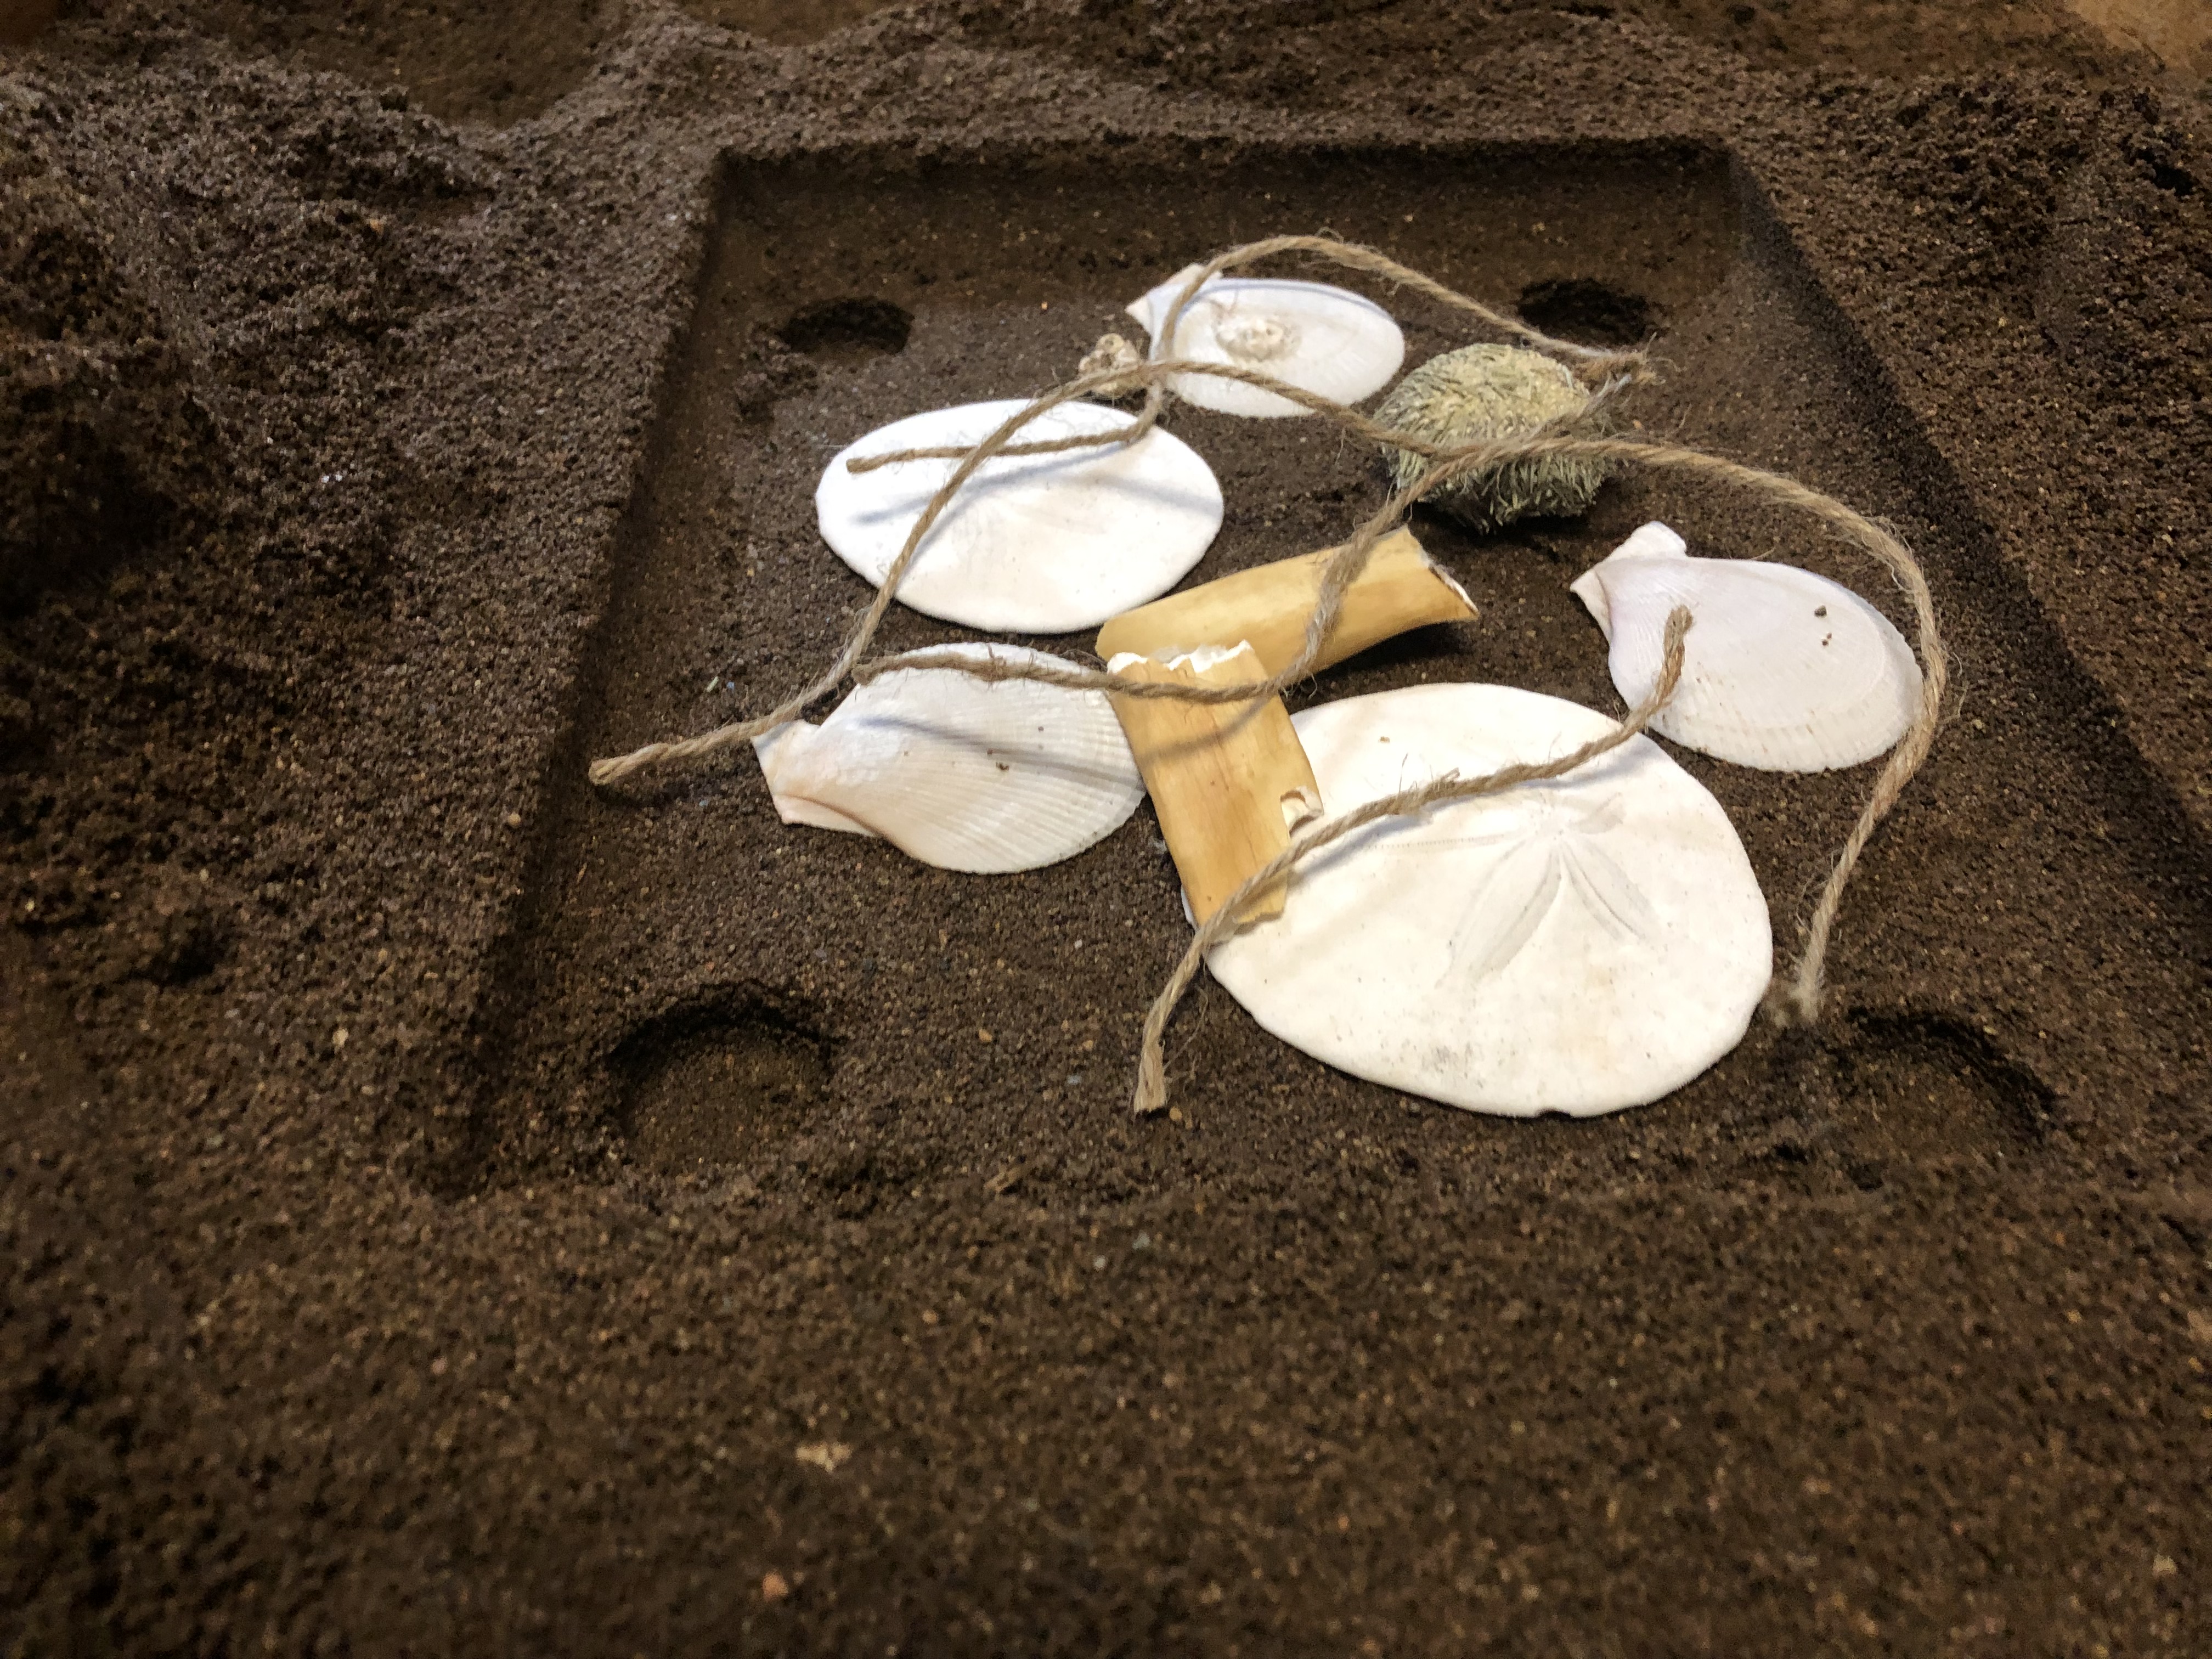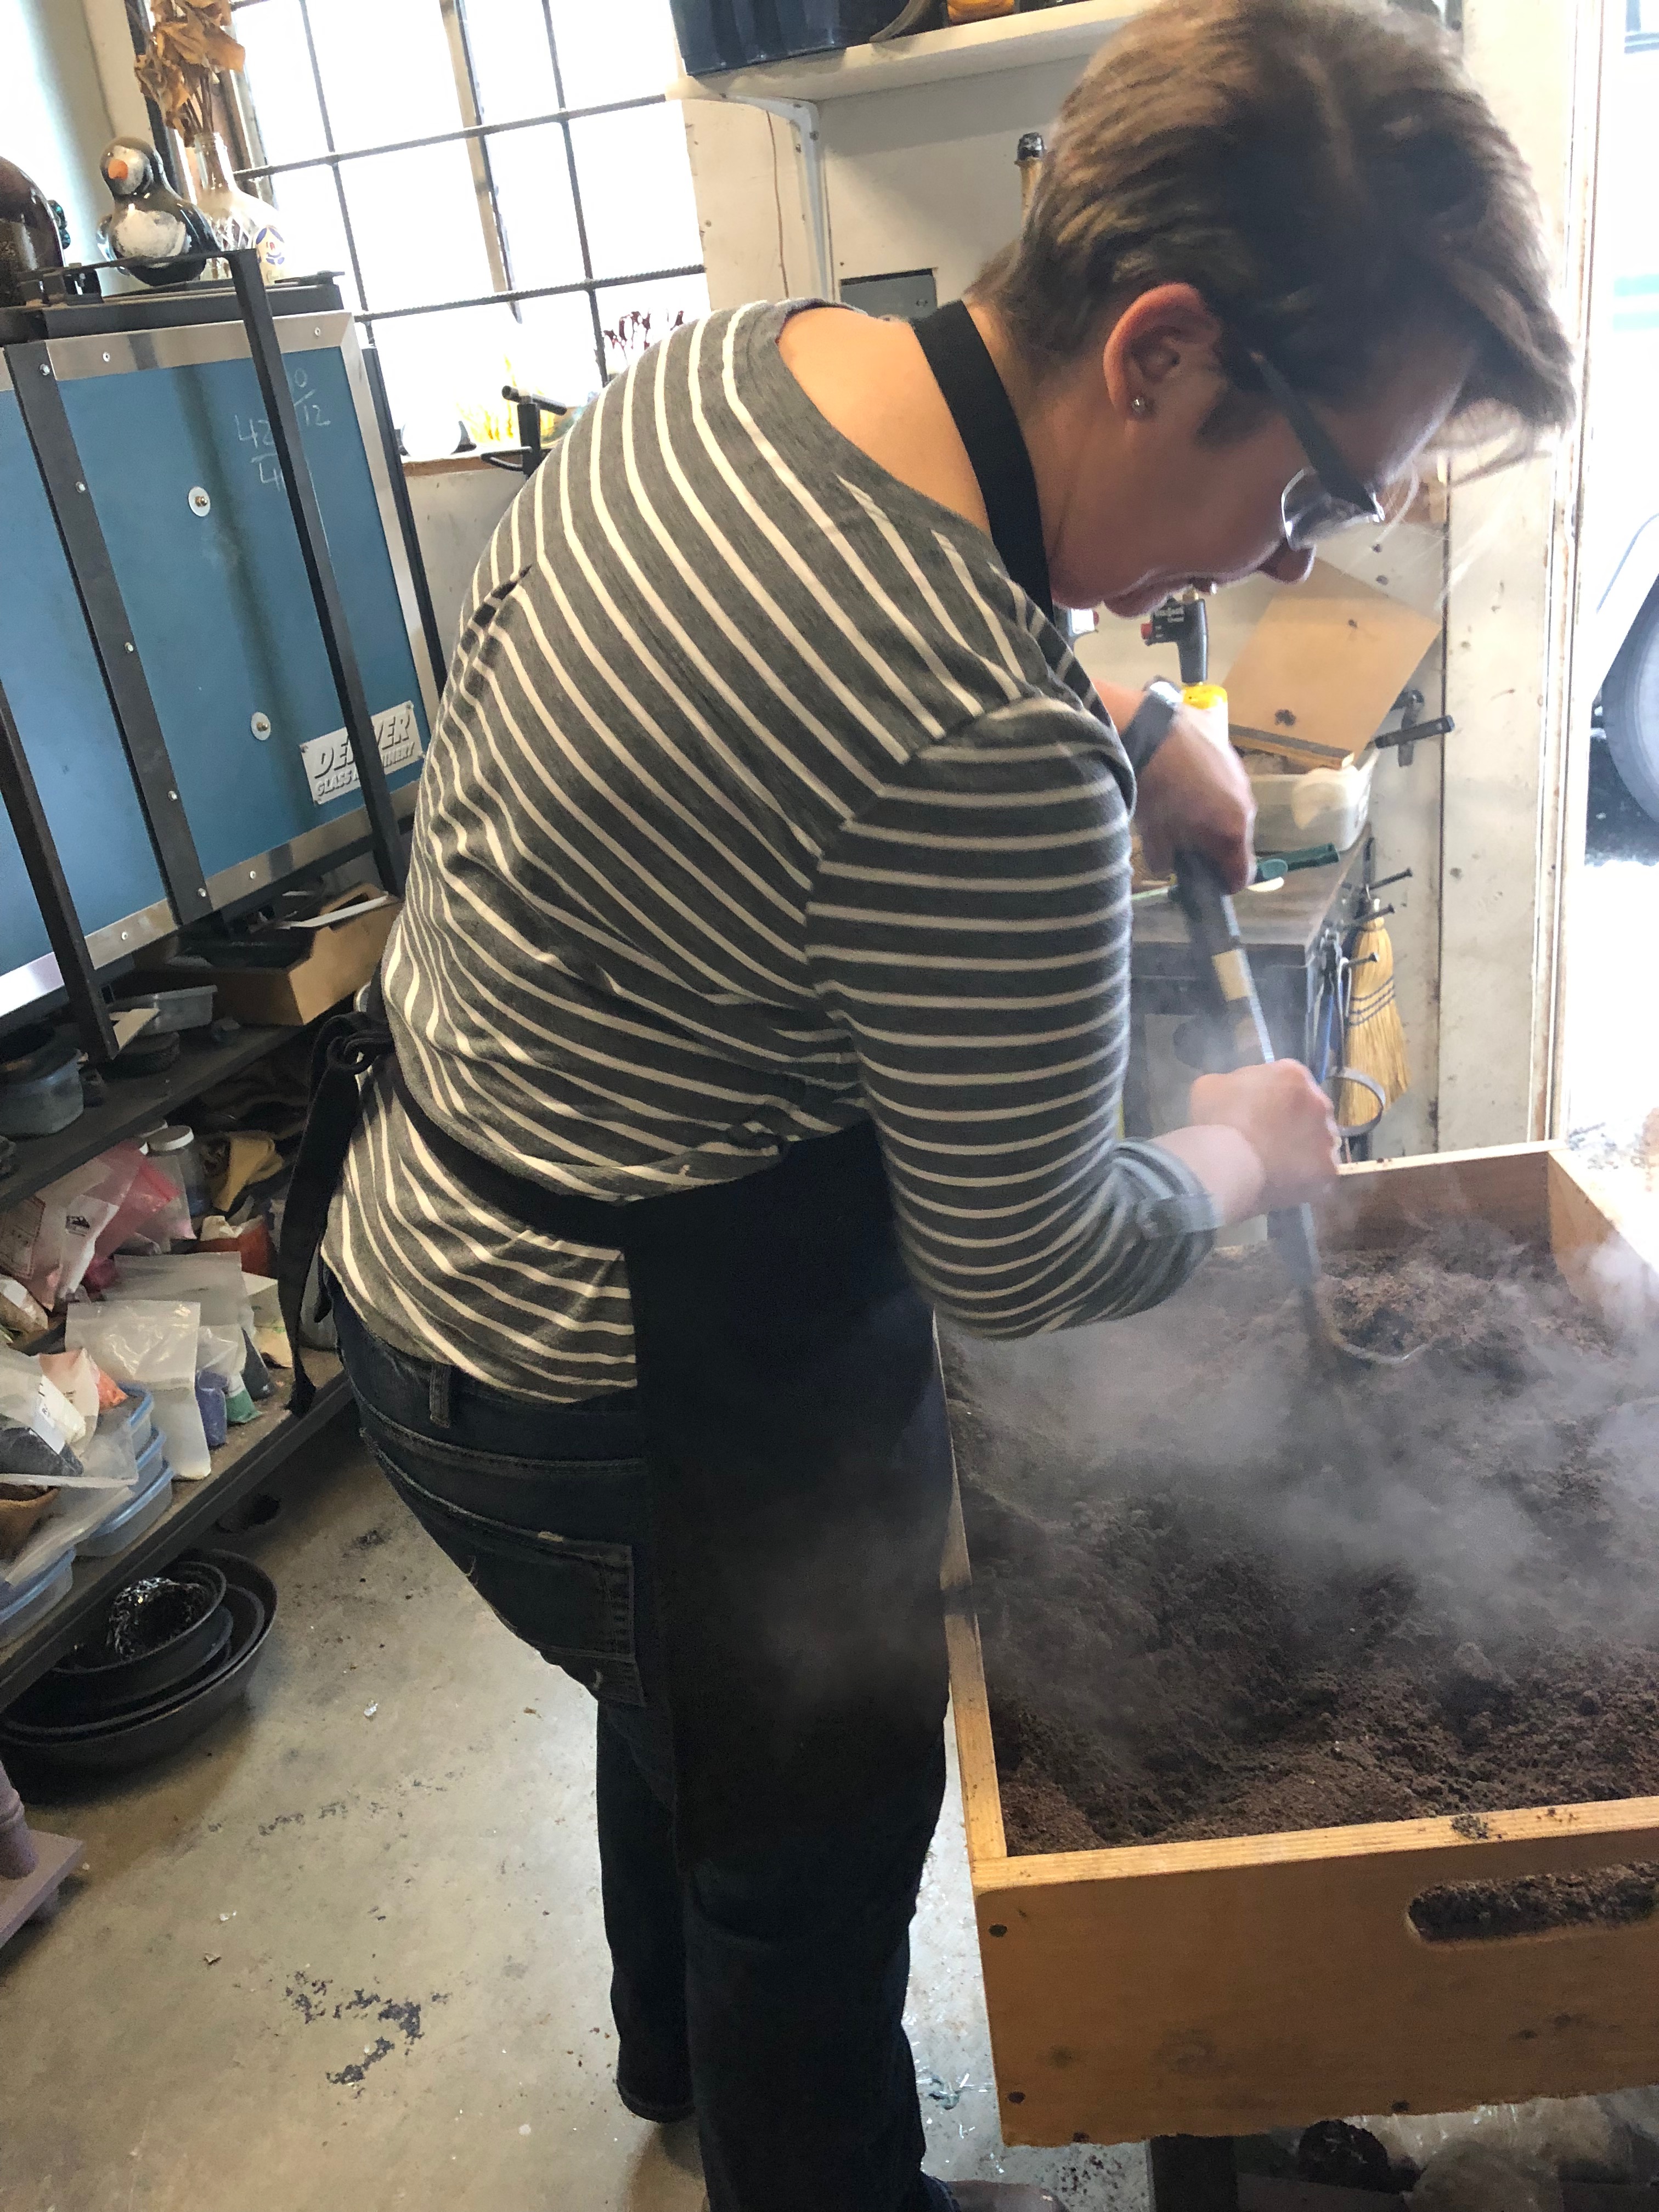


To really understand the entire sandcasting experience let me paint you a picture with words… so first you have to get the sandbox ready, its play sand bought at your local hardware store. It’s kind of crunchy from the last time you used it so you have to get out the shovel, maybe a little gardening rake and break it up. Add some water, some clay product to help the sand stick and hold the mold.
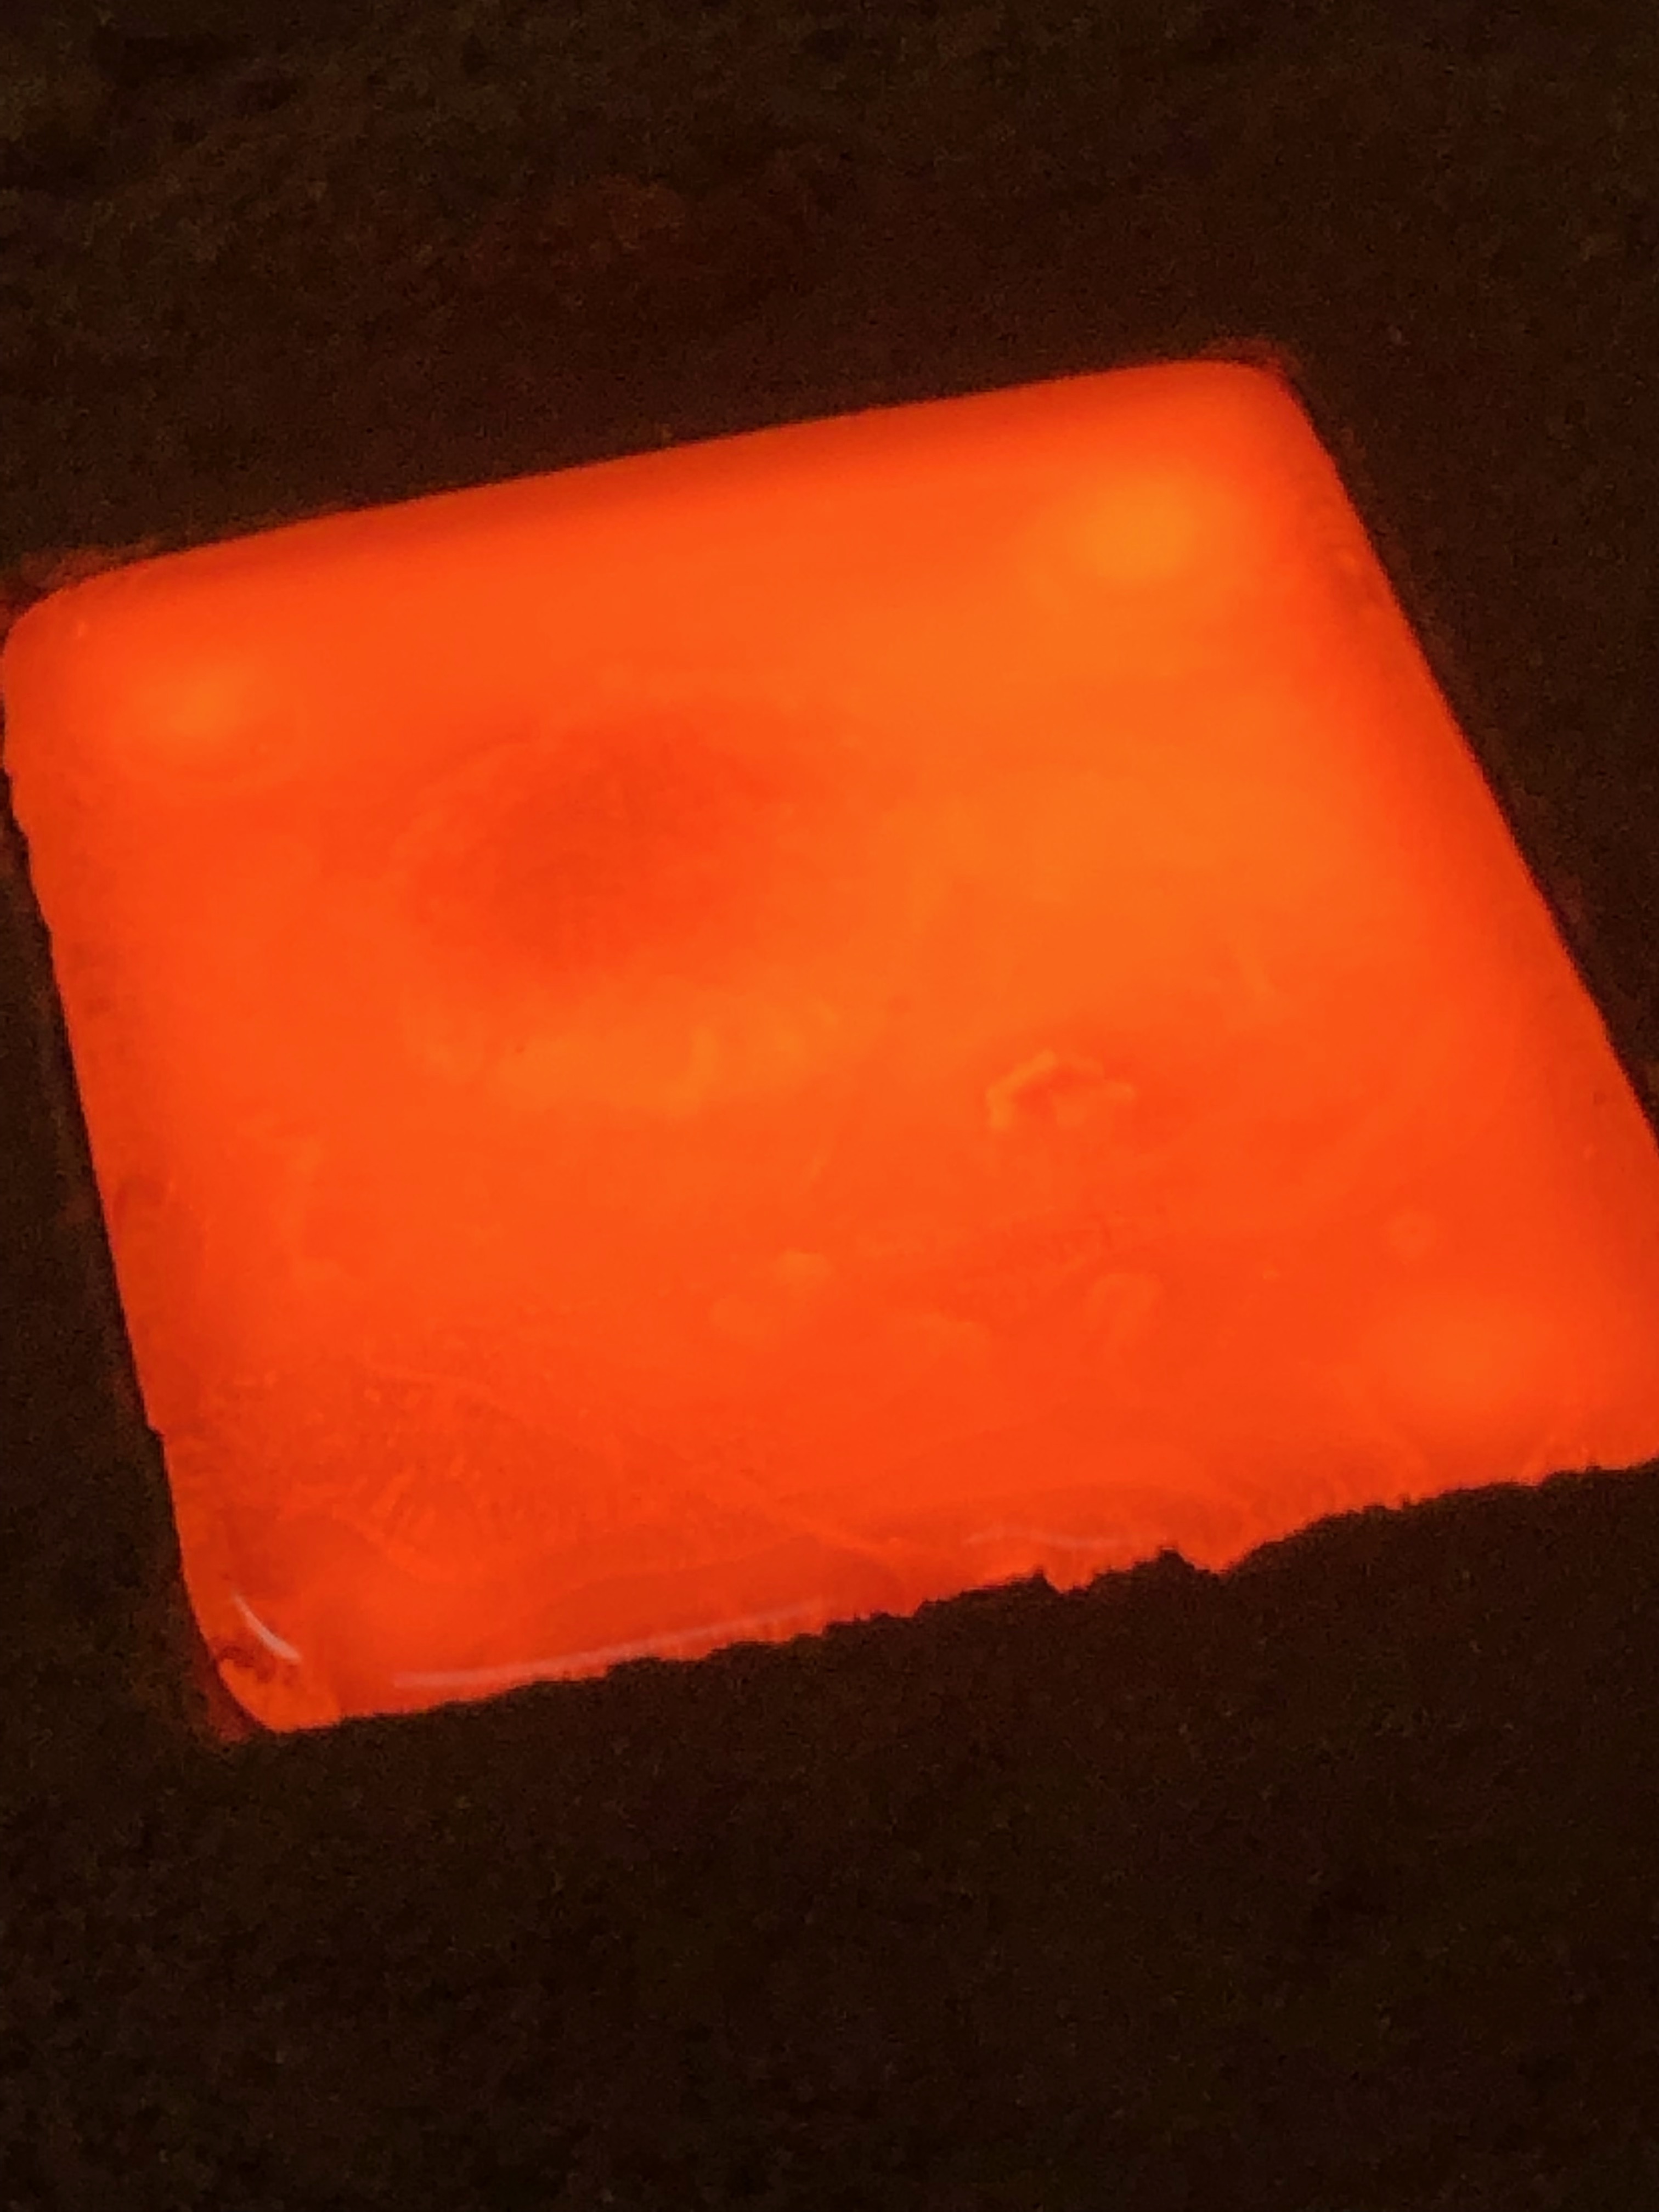
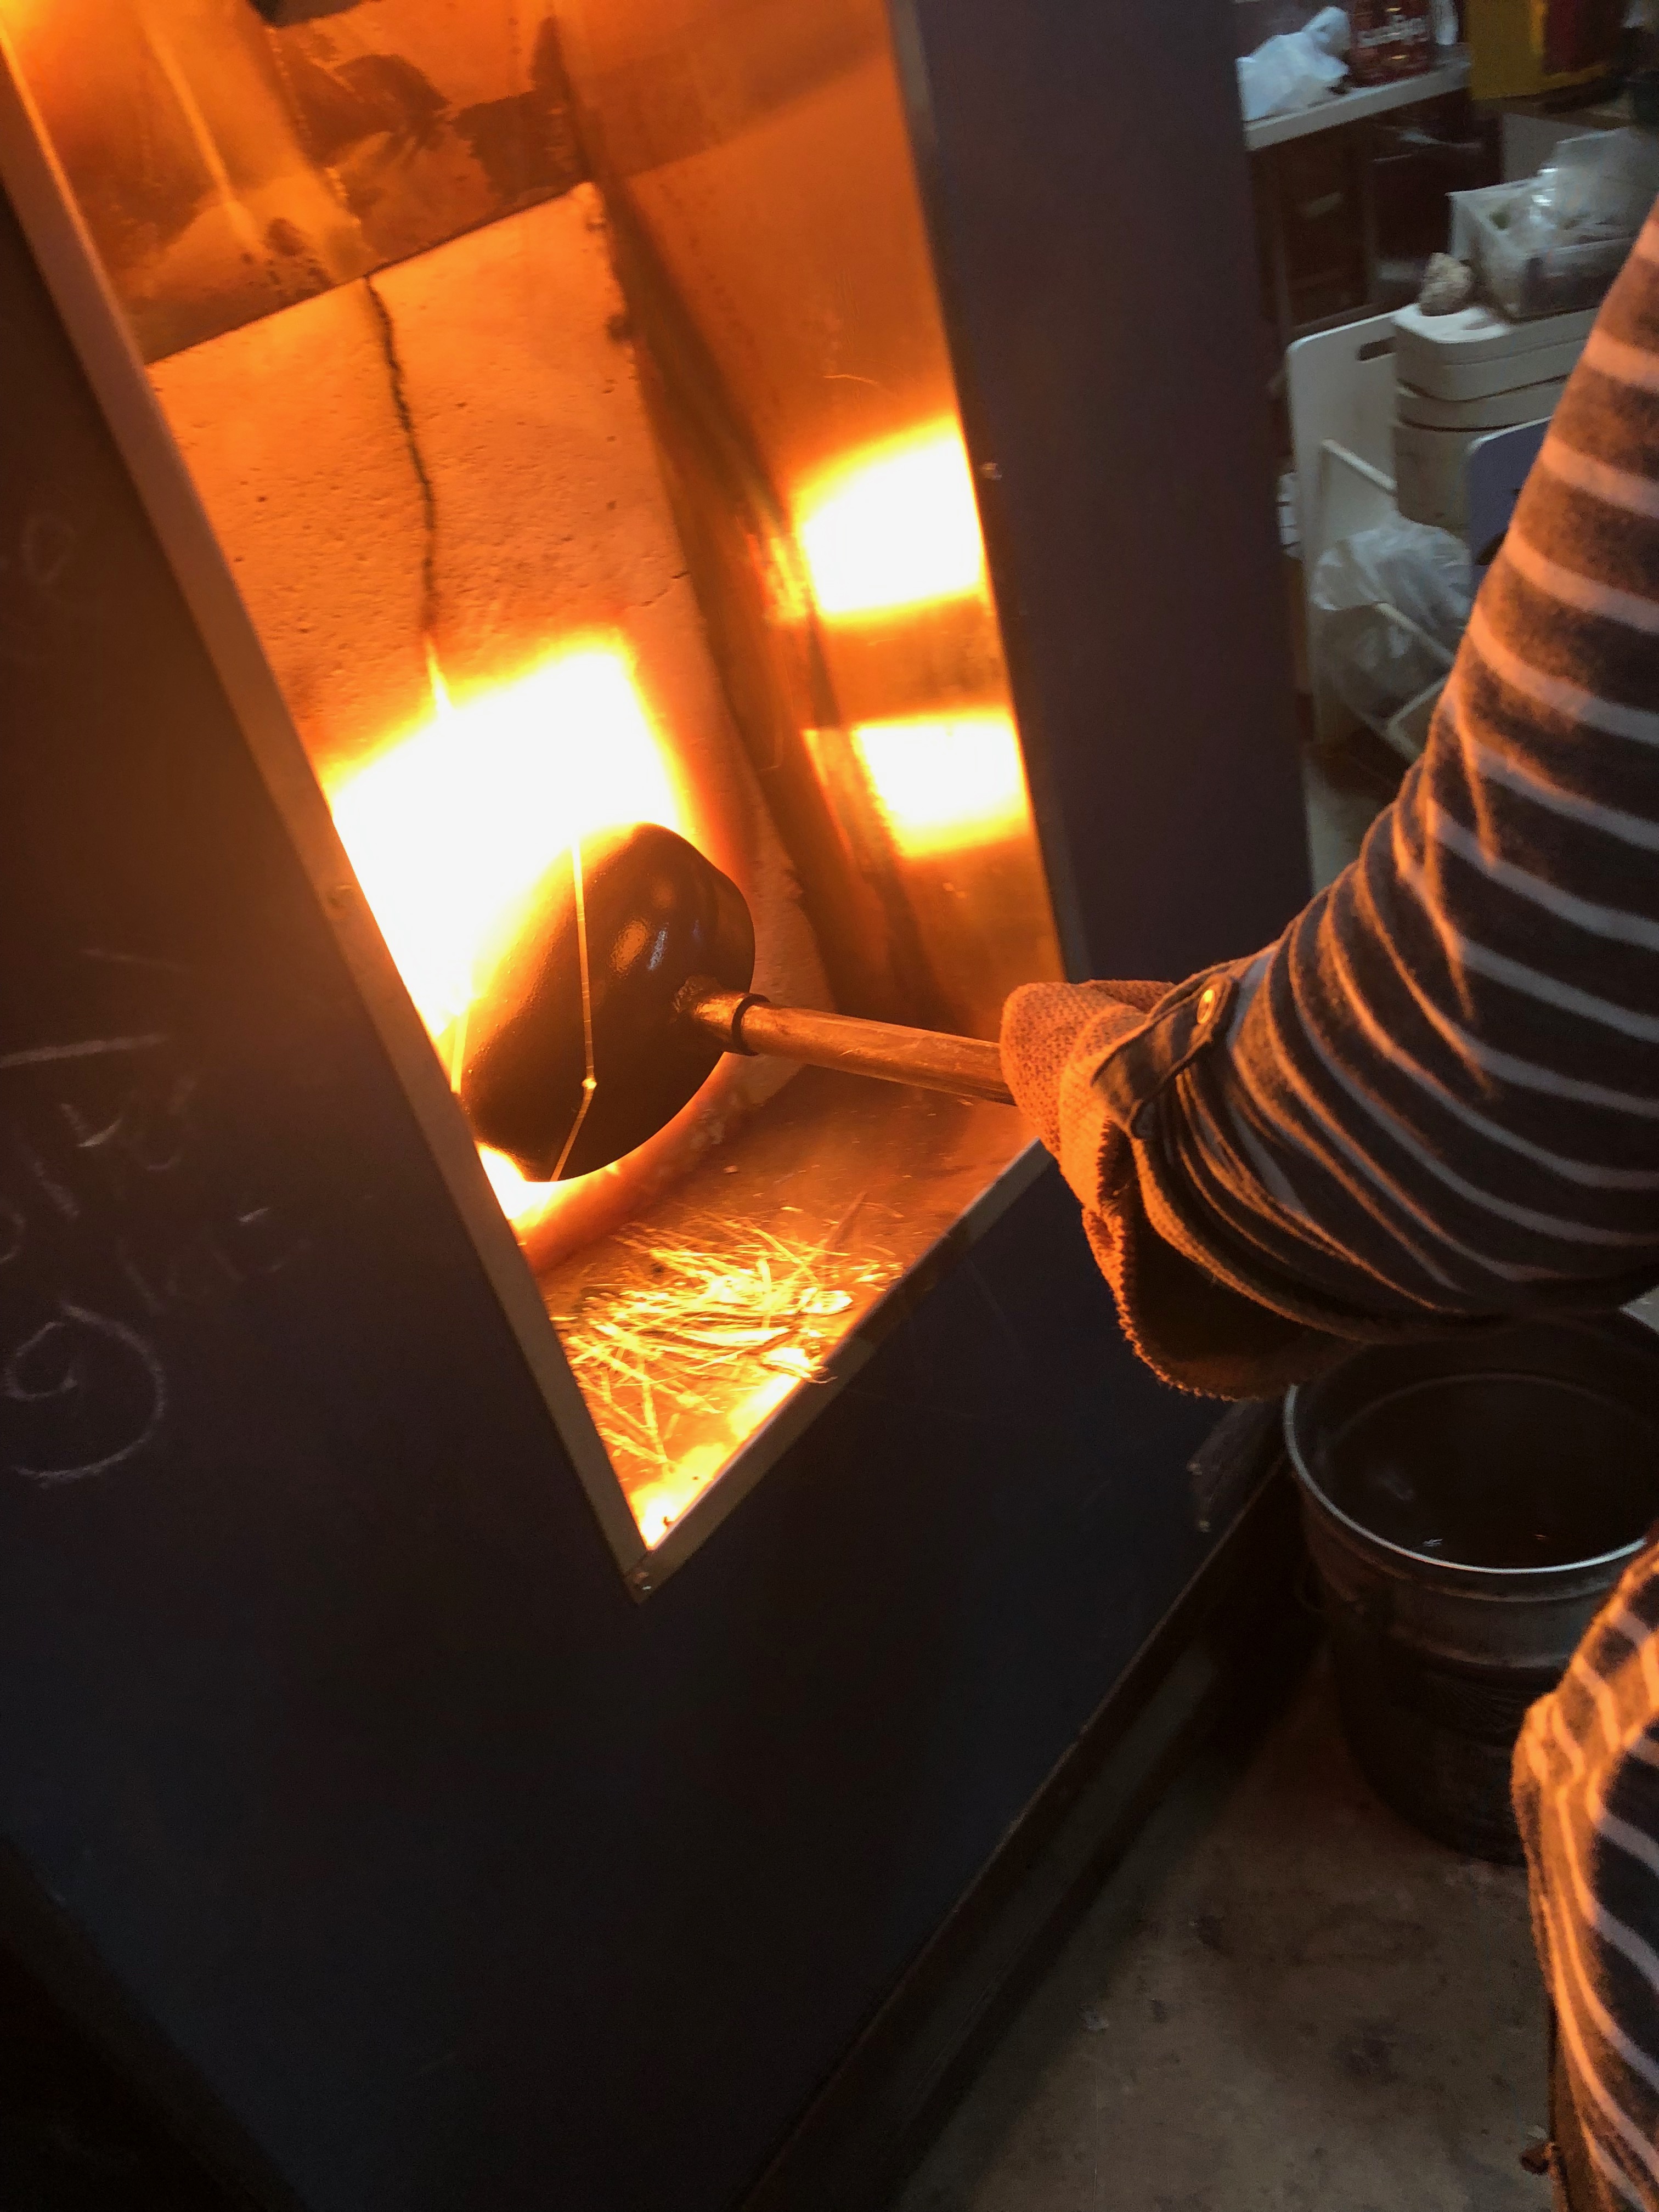
It starts to smell because I like to use a molasses binder to keep the sand from sticking to the glass. Your hands are dirty and caked in sand – you can spend hours and minutes creating the sand mold, it can be simple or complicated, you could have spent months planning or just working on a whim. But you have time because your annealer has to get to 560 degrees celsius before you can pour your glass.
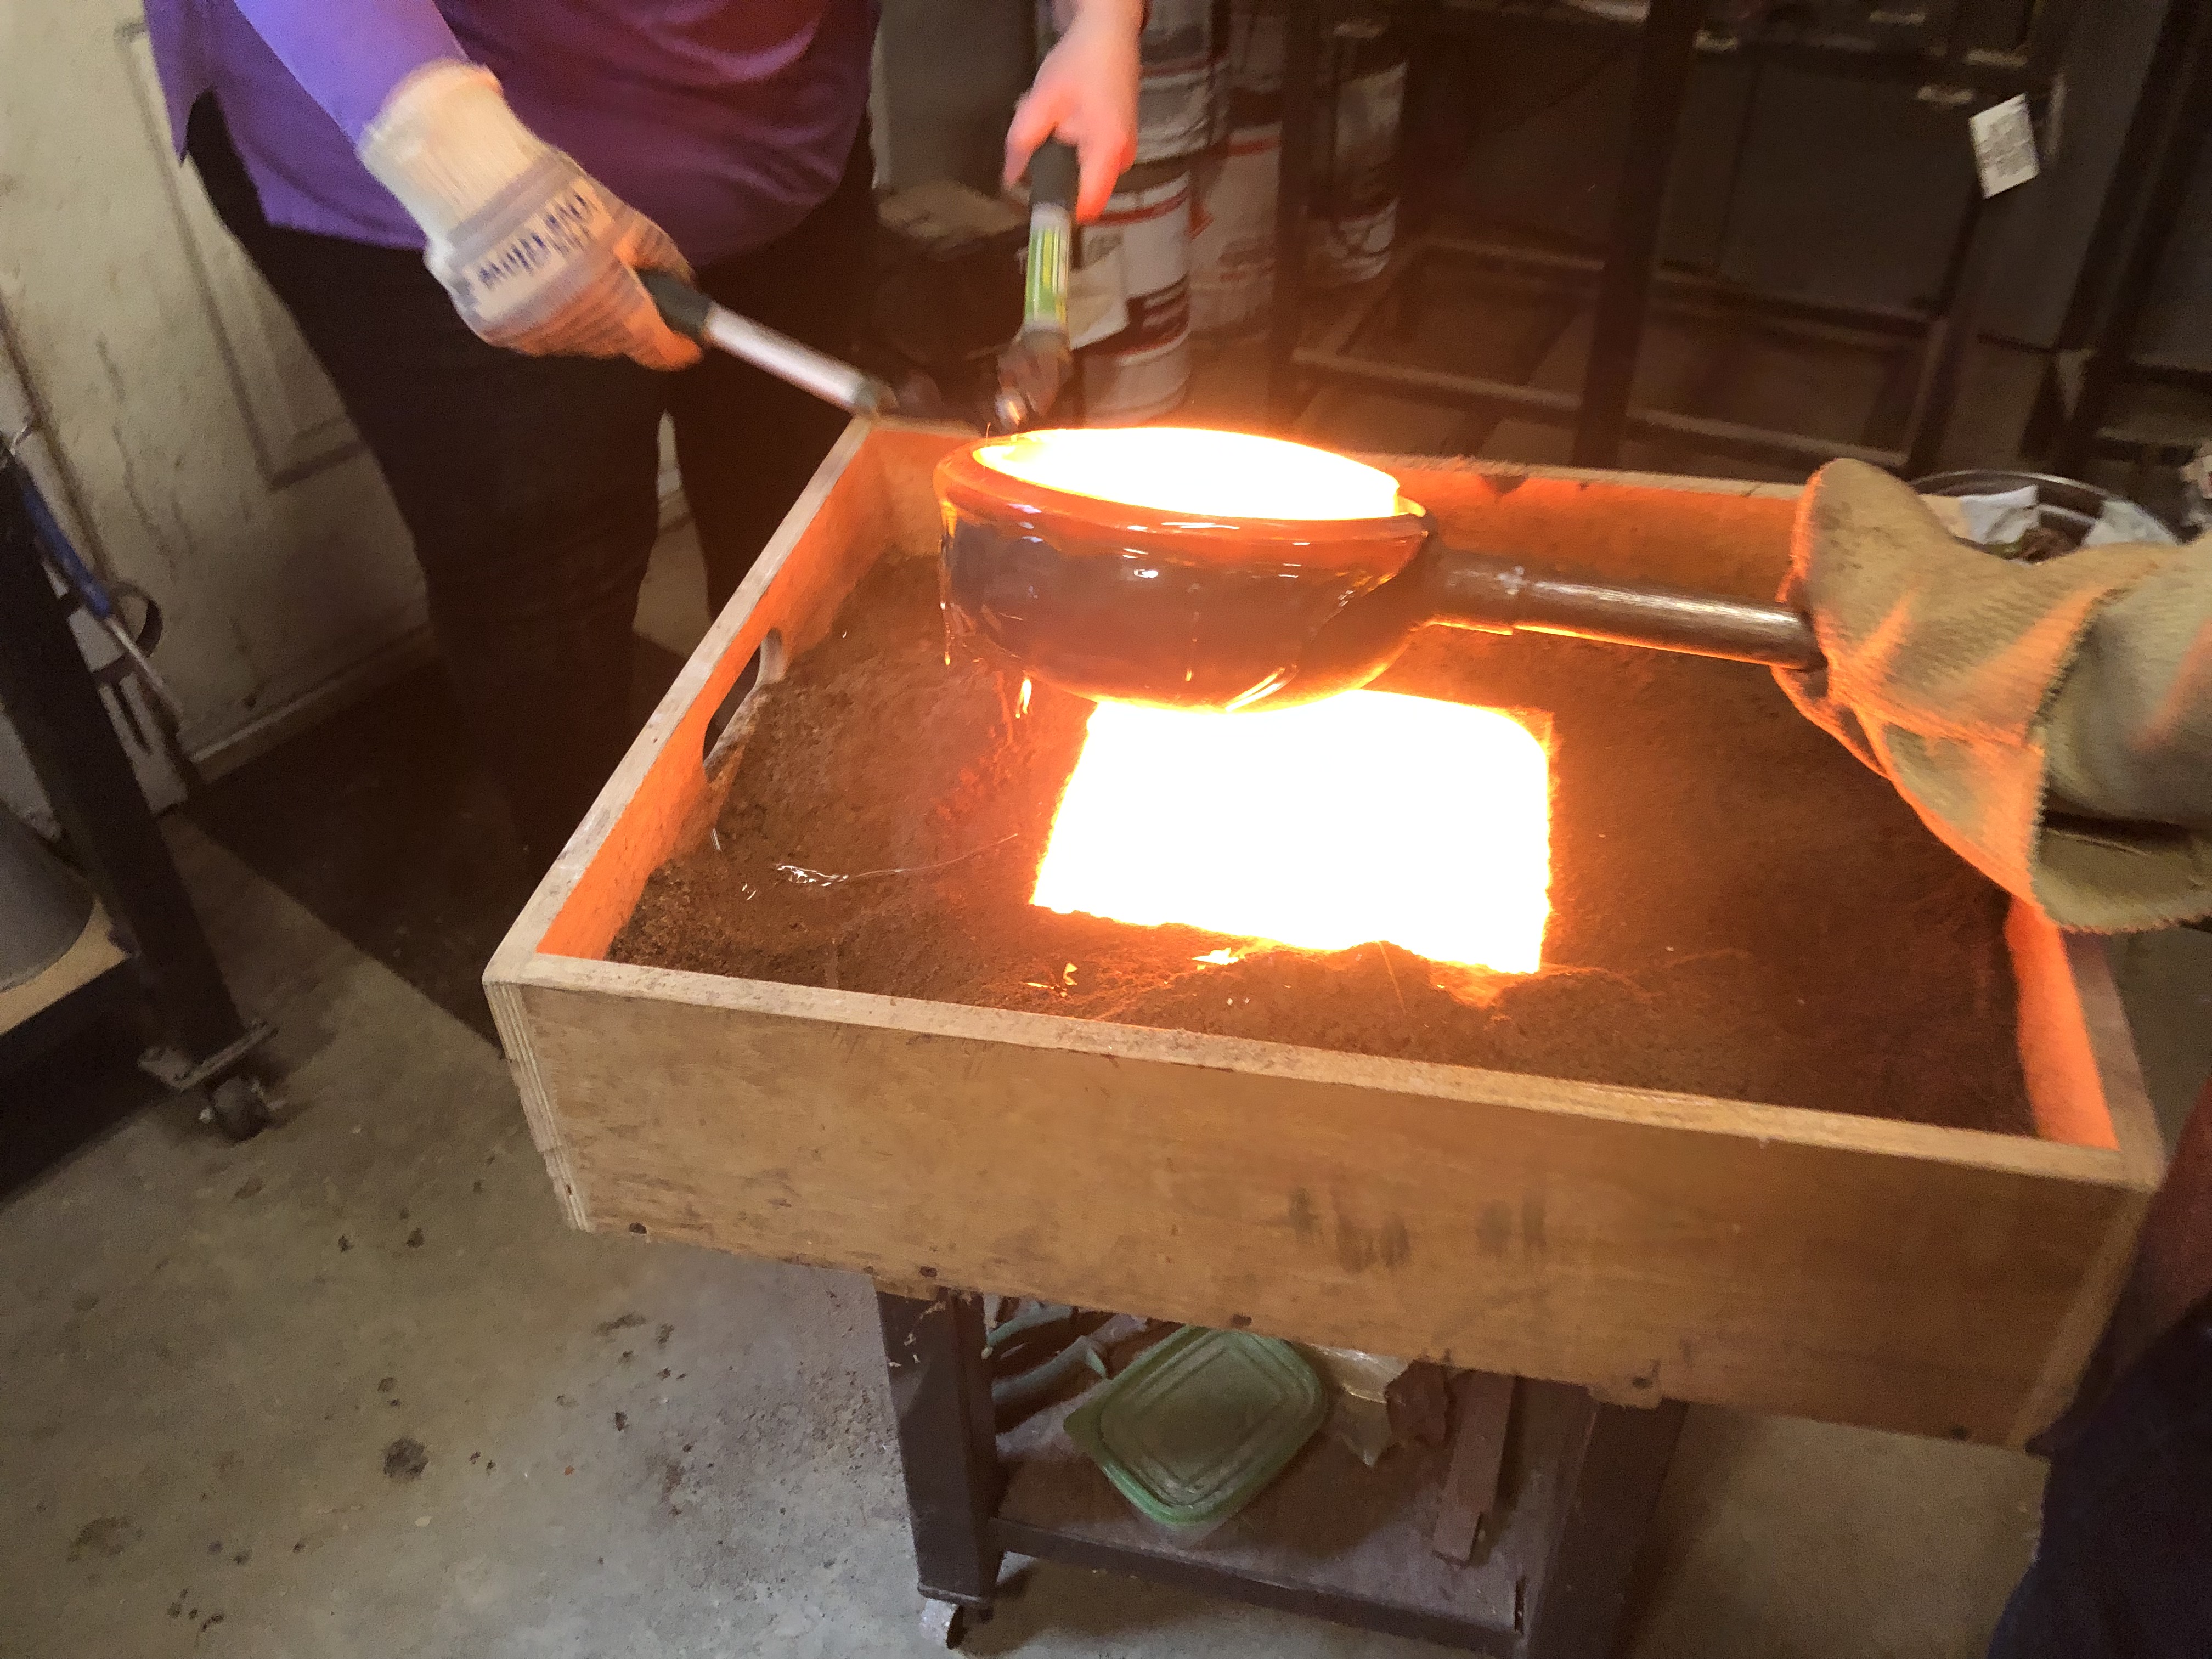
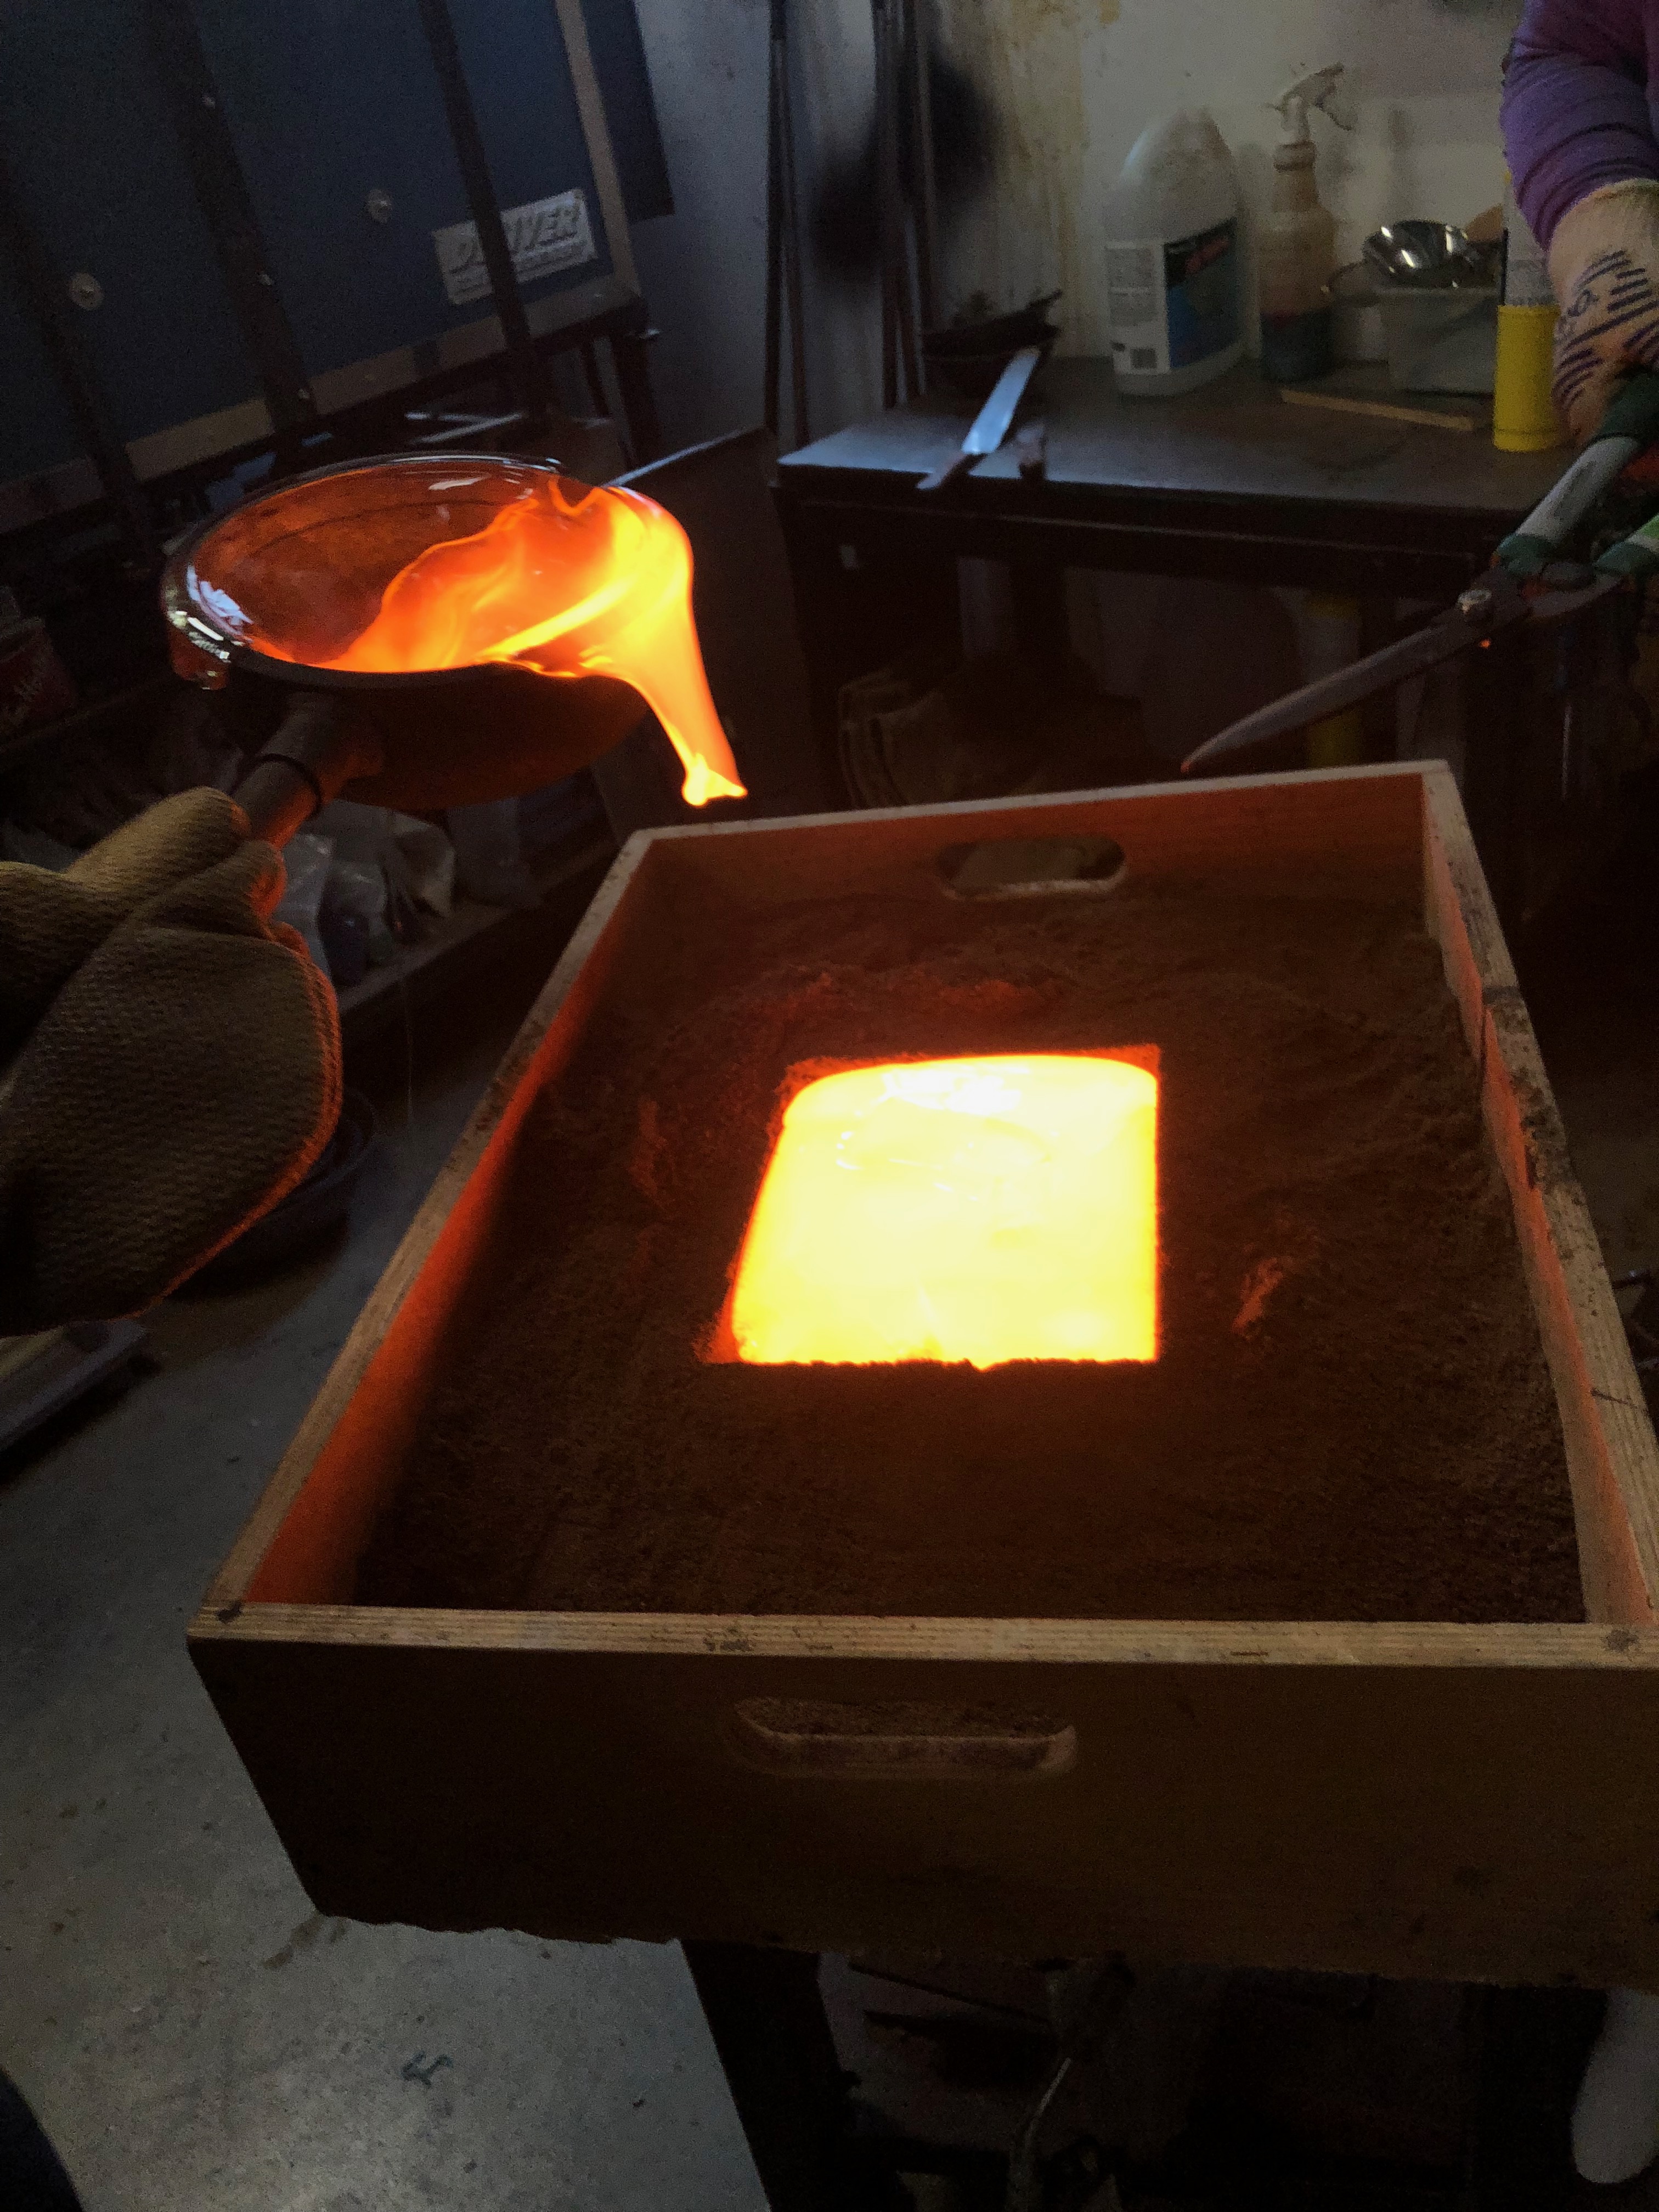
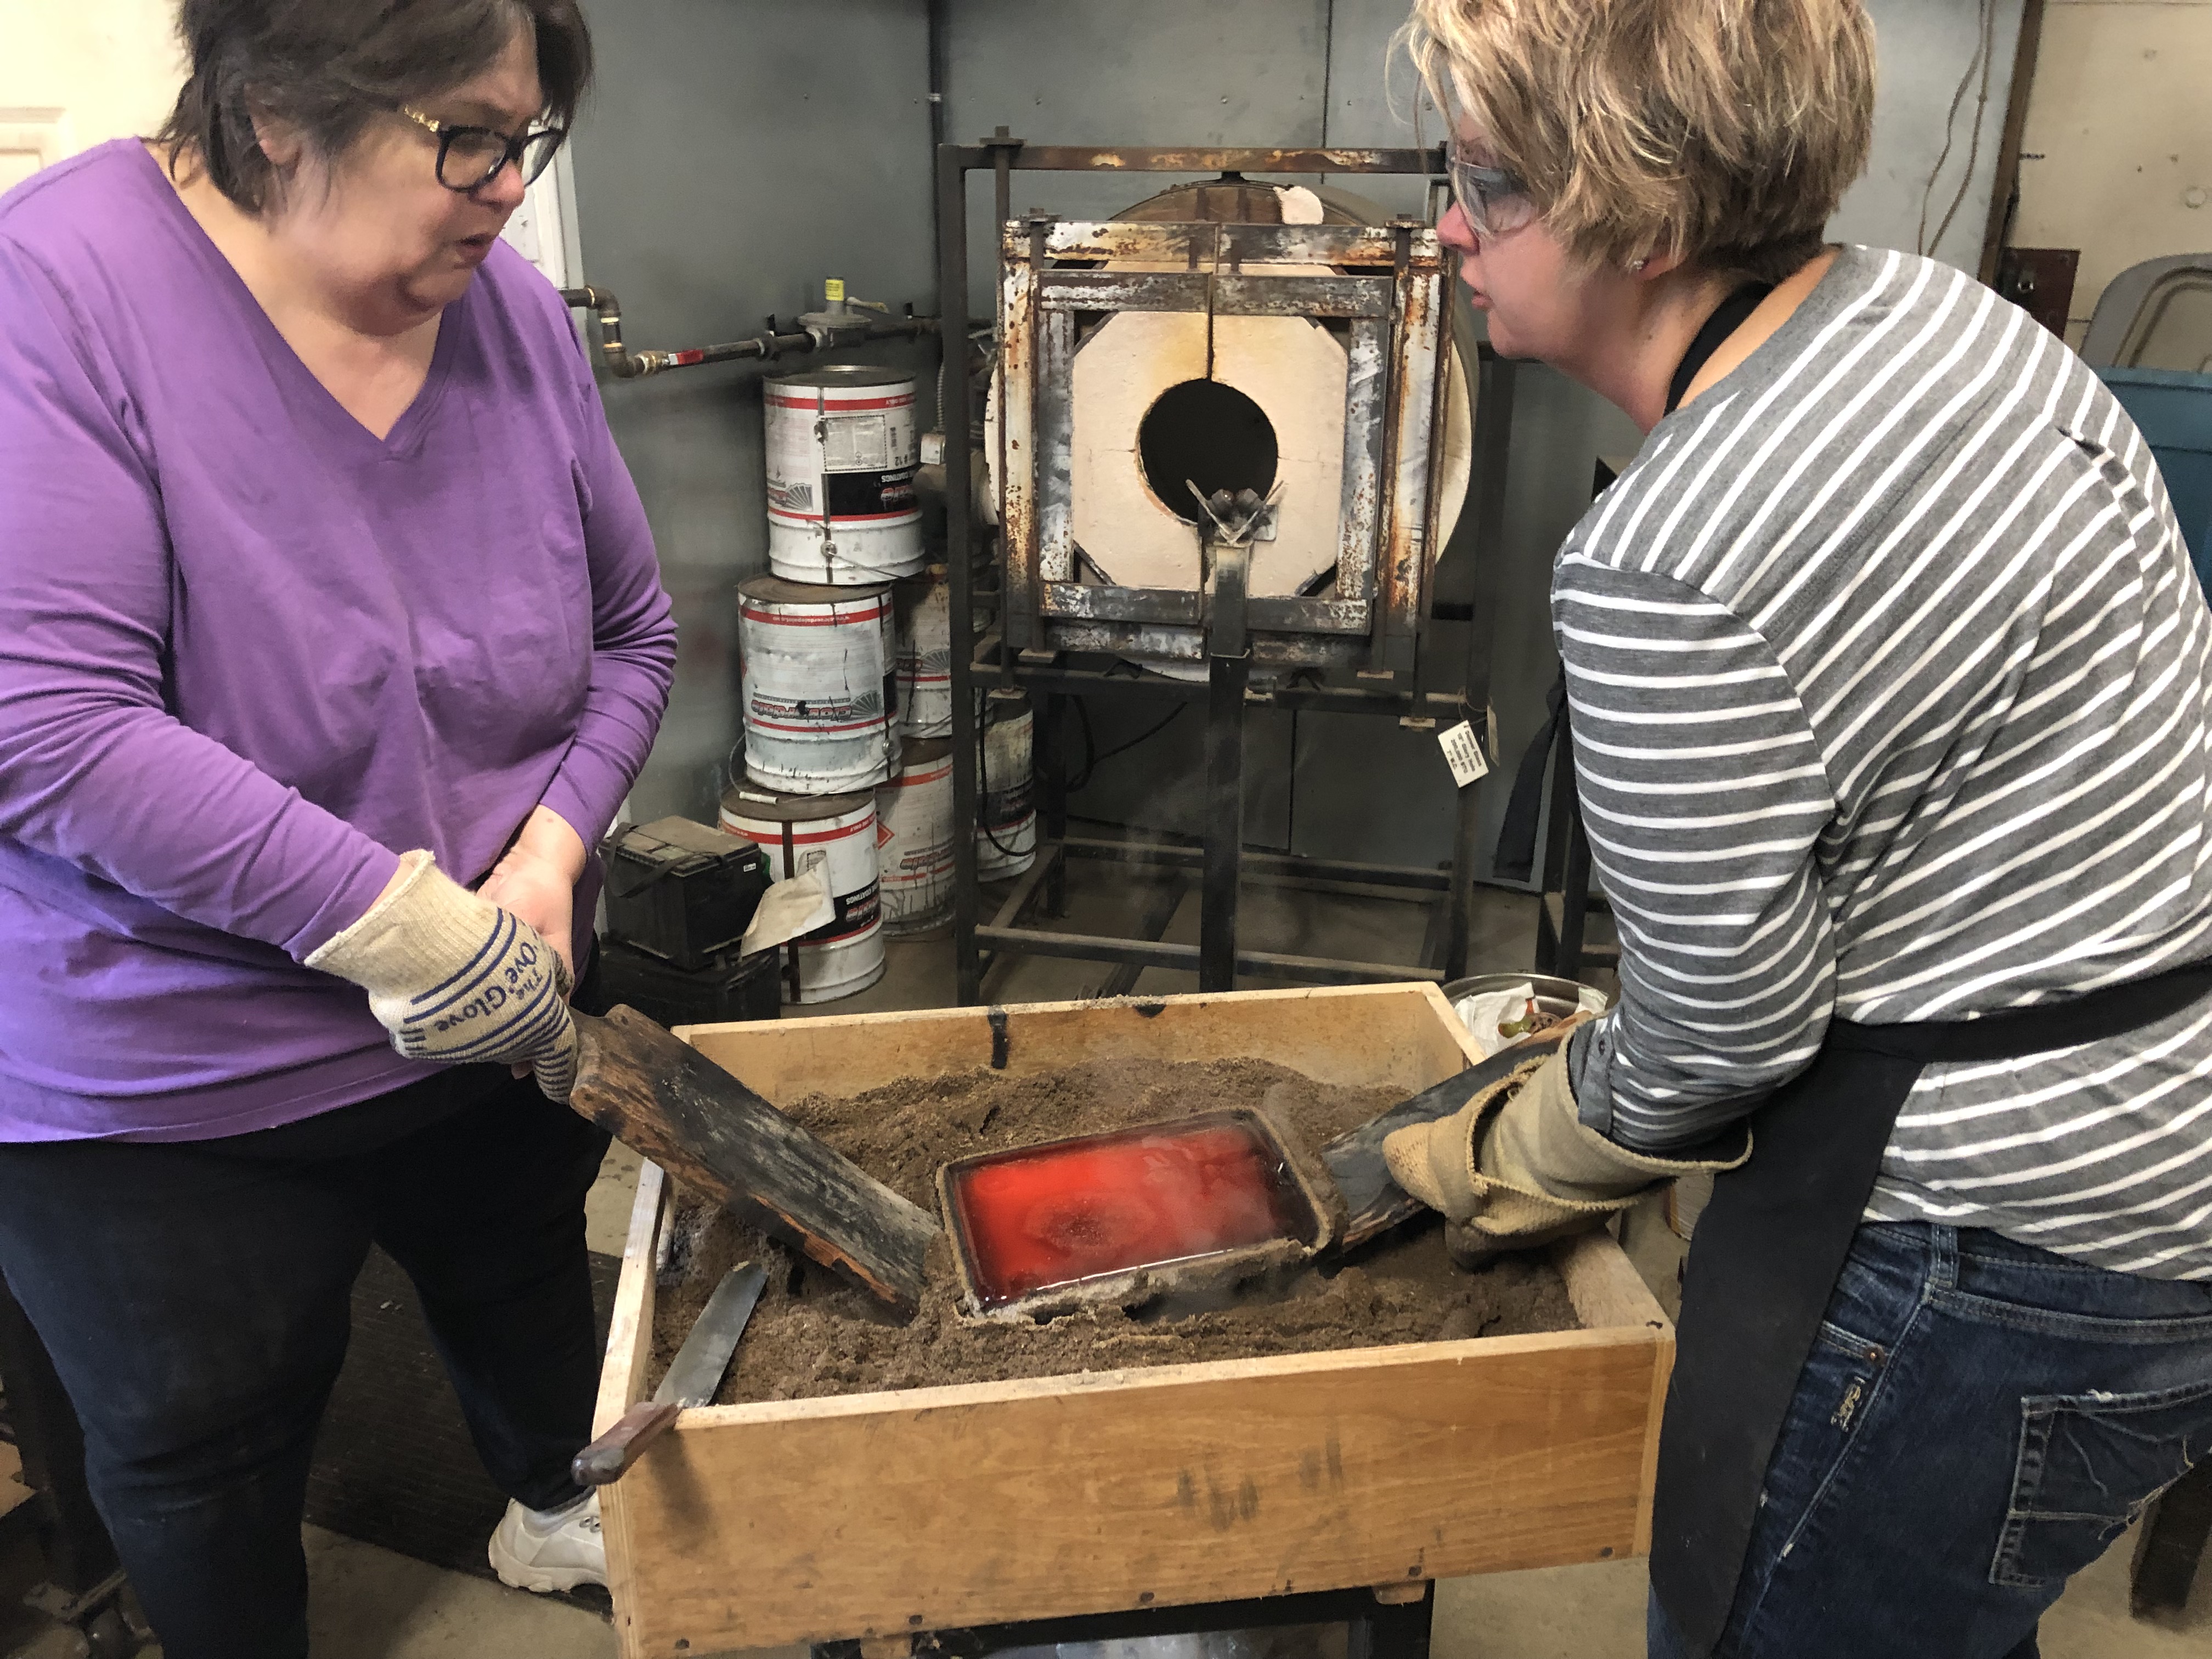
If you’re pouring a big piece you need help, someone needs to pour, someone needs to cut the molten glass, and someone needs to torch and keep the heat in the glass. So before the pour you go through the game play like the Stanley Cup depends on it.
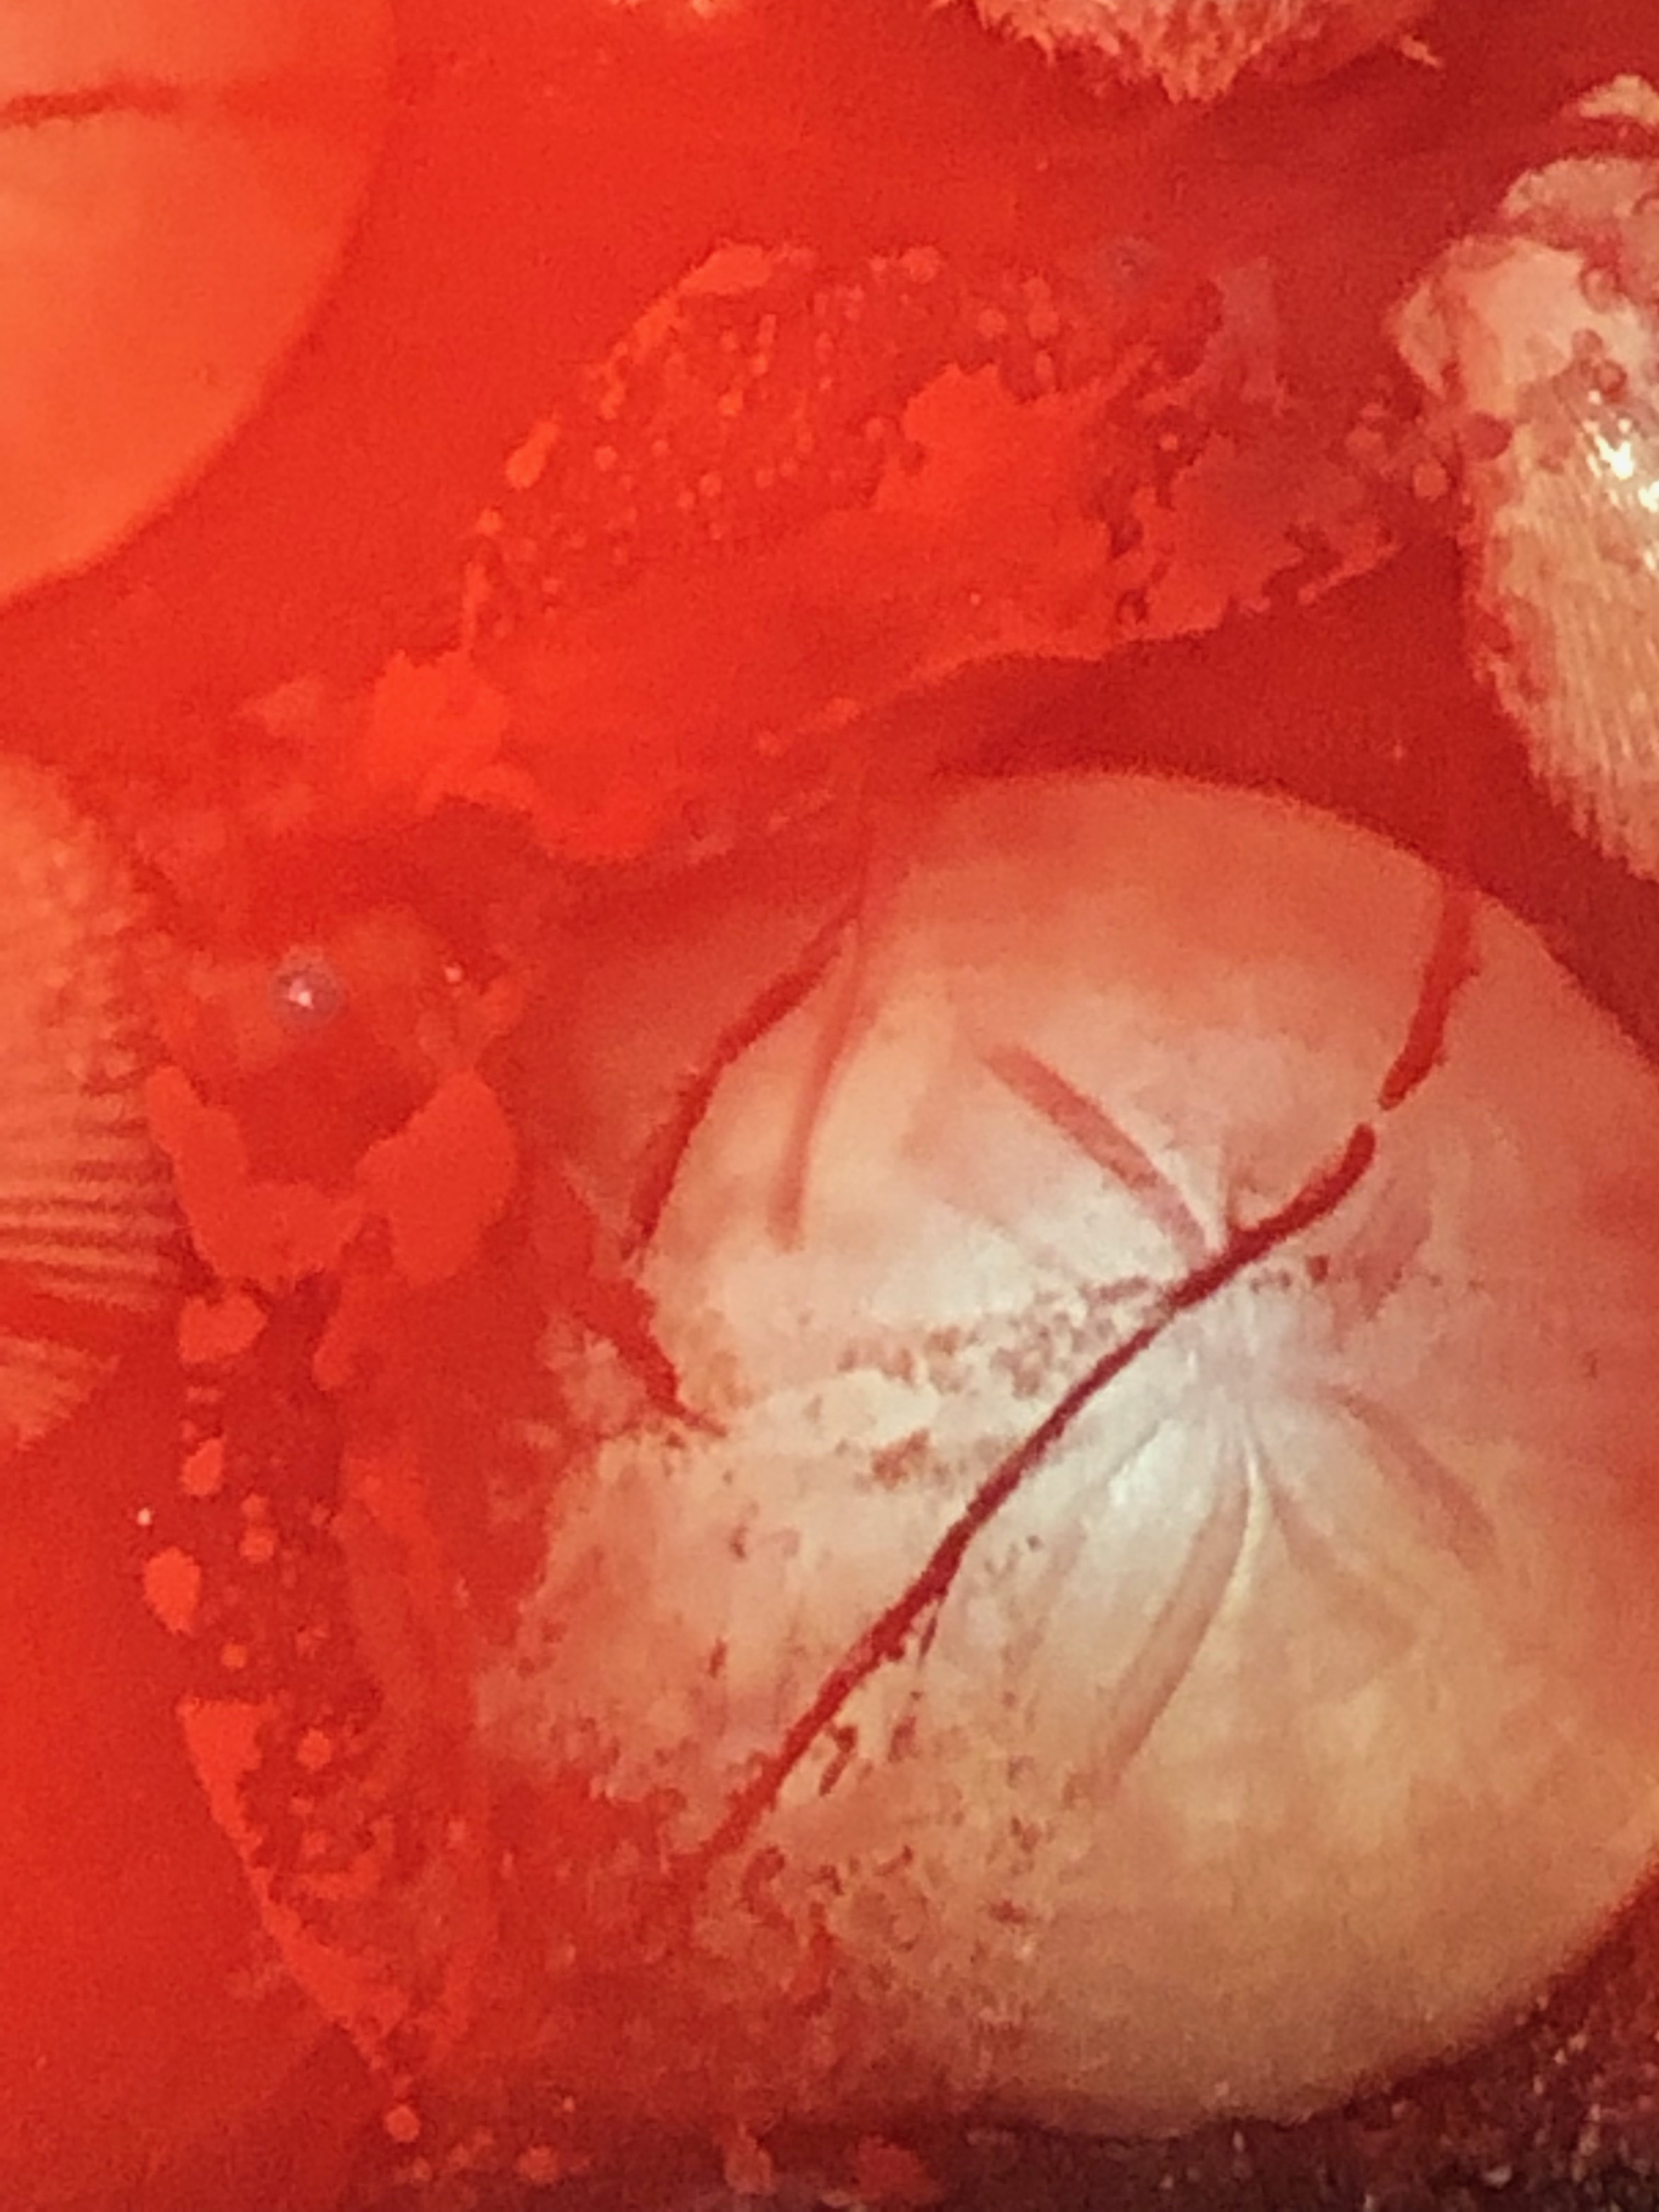
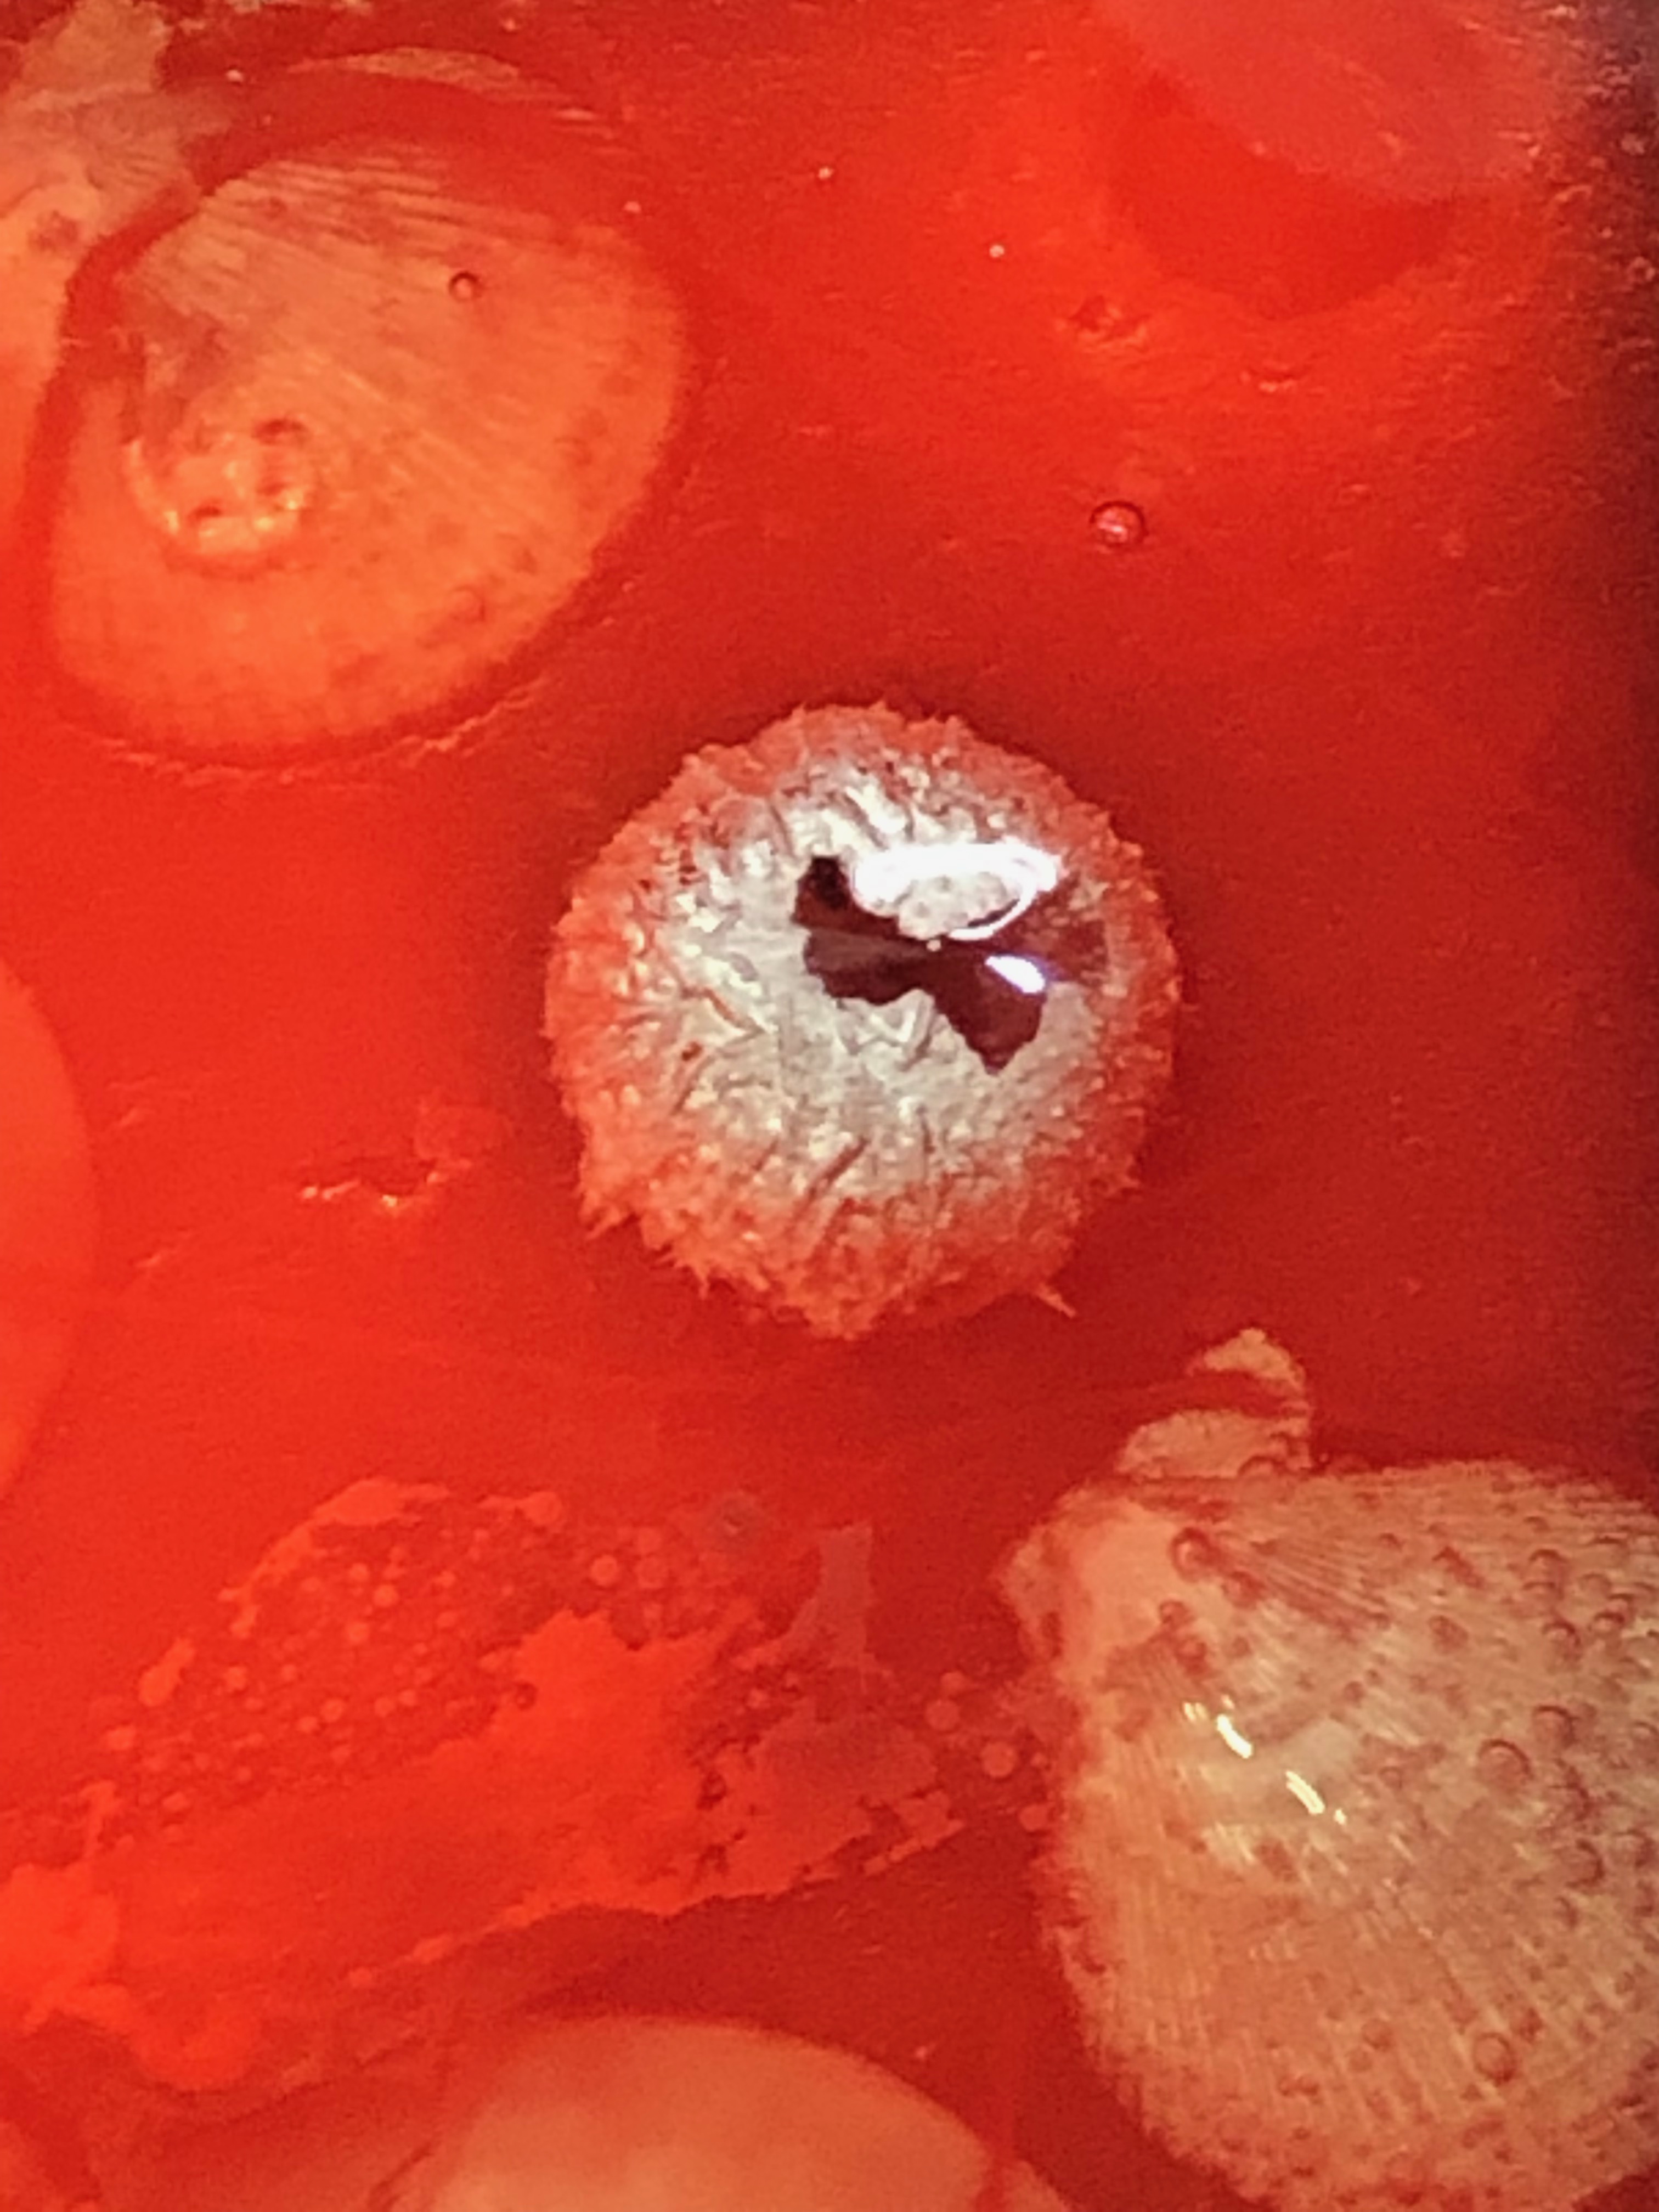
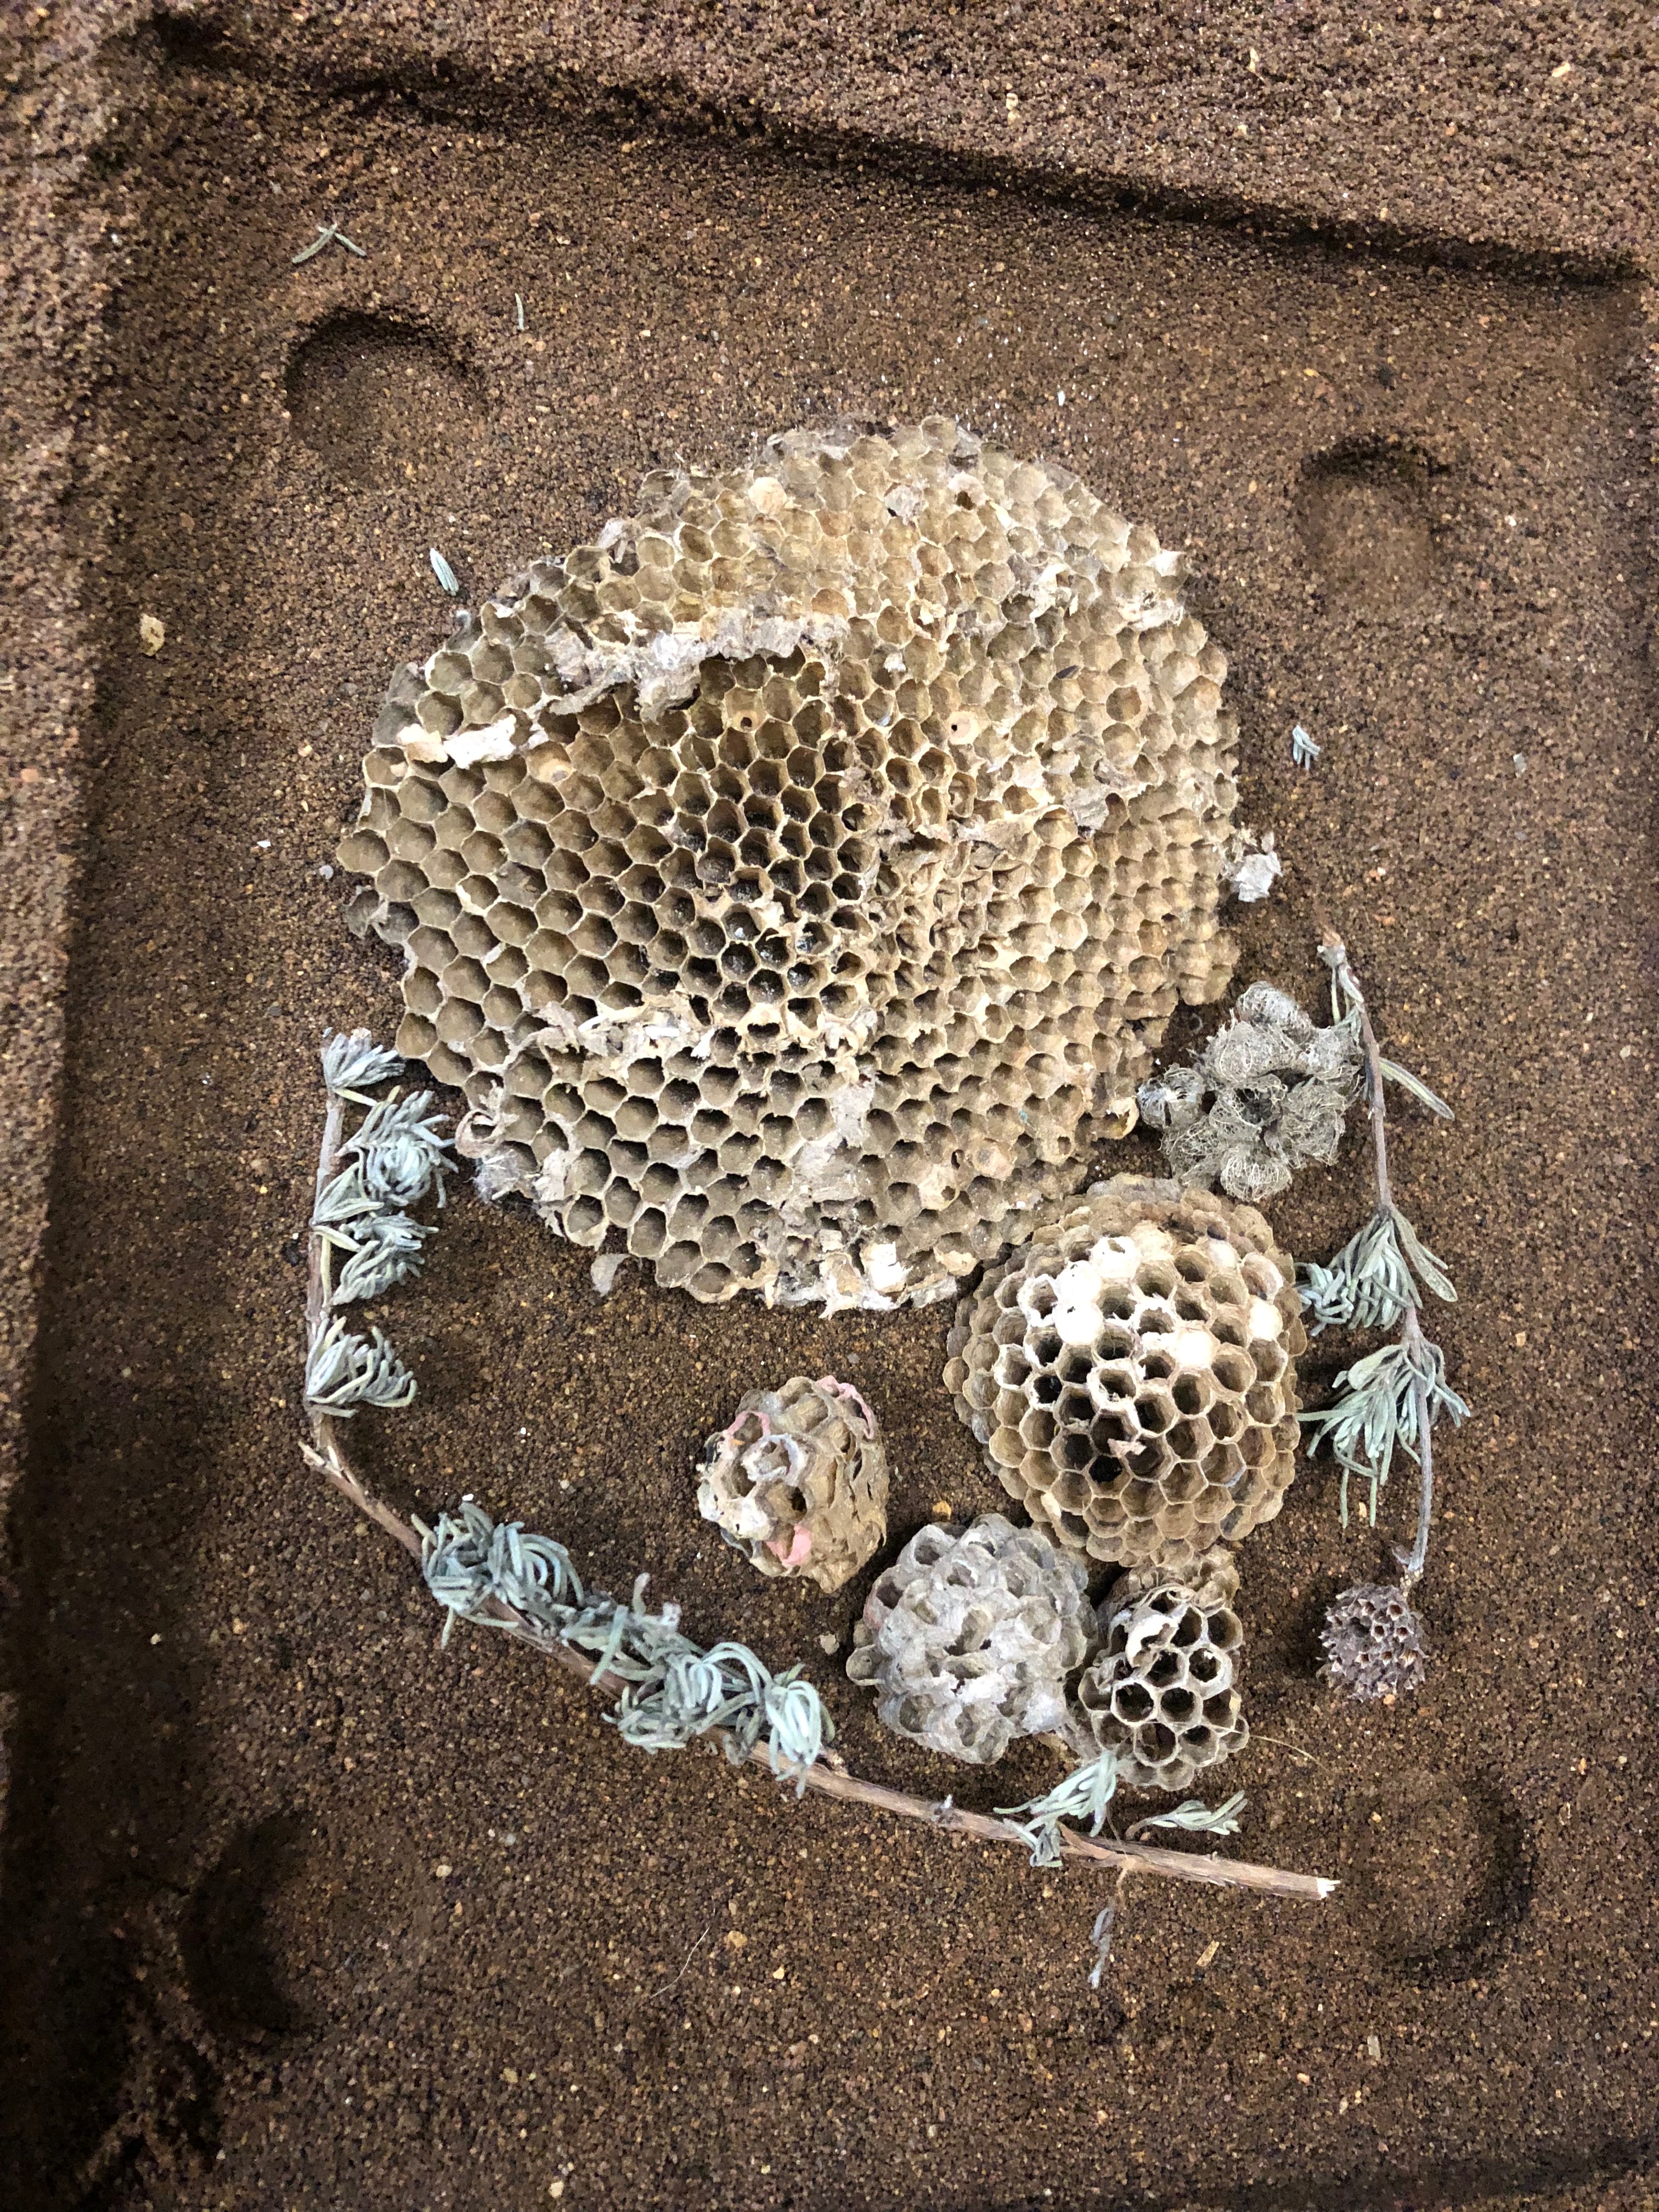
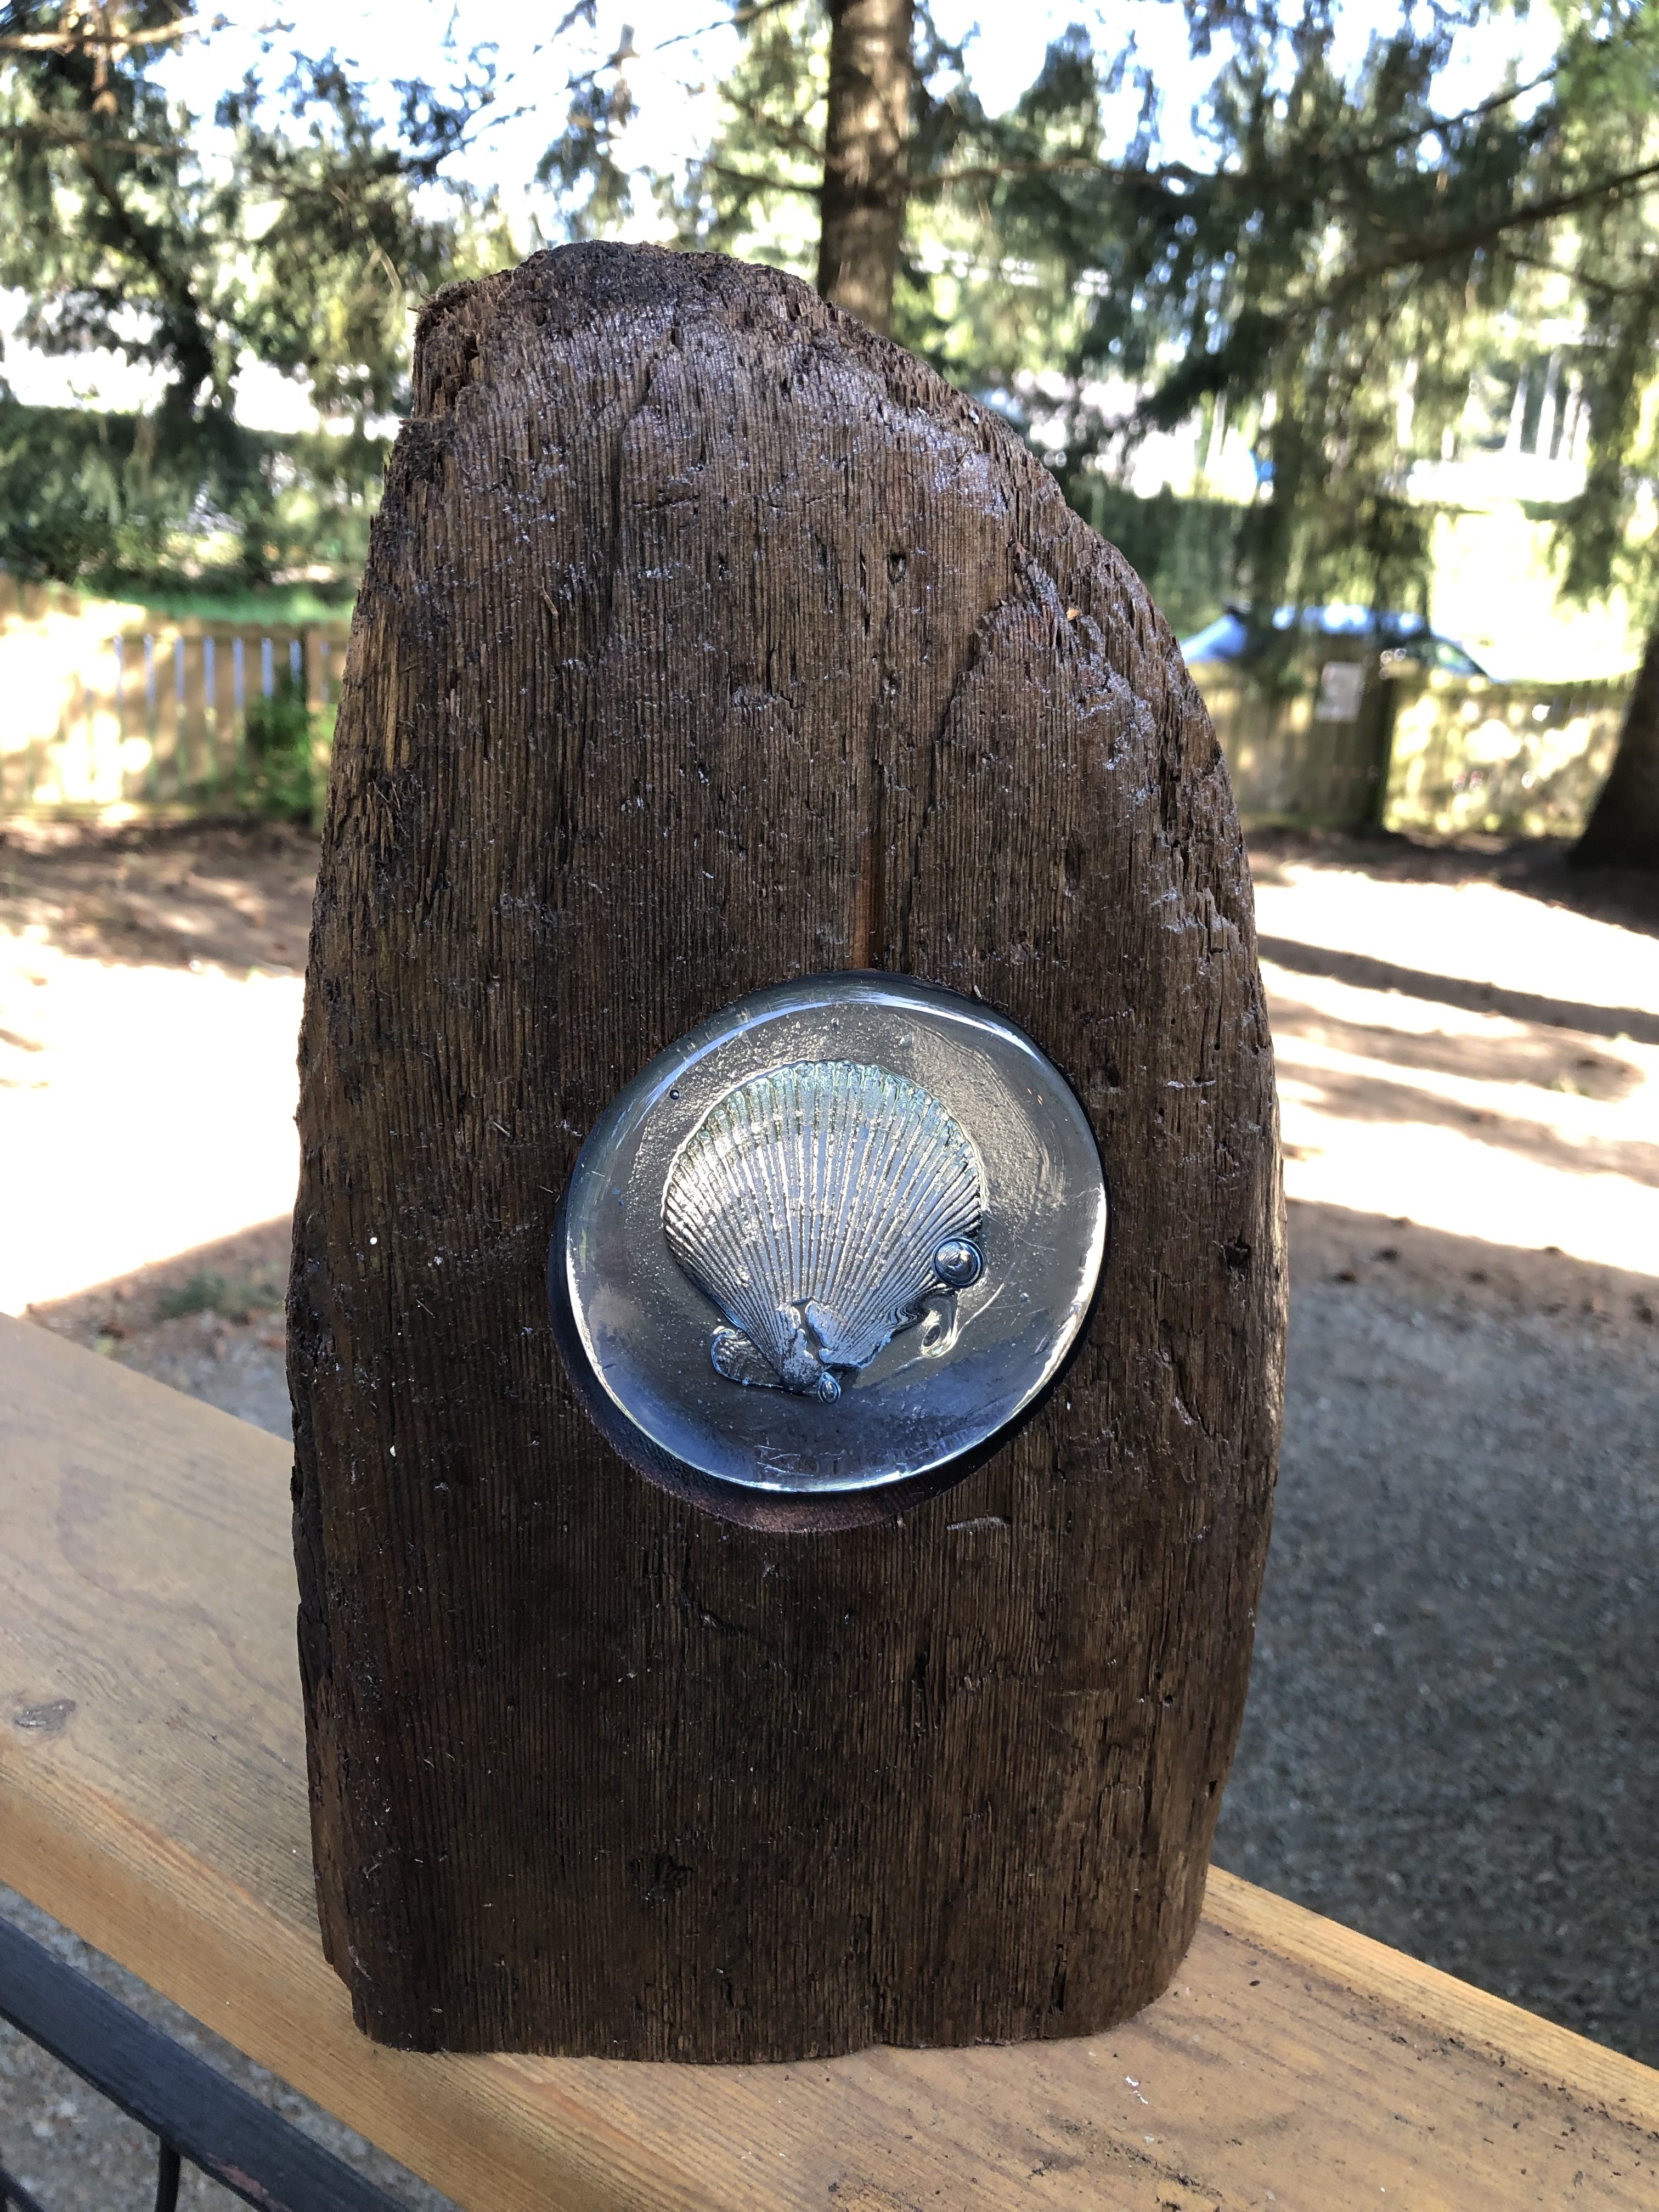
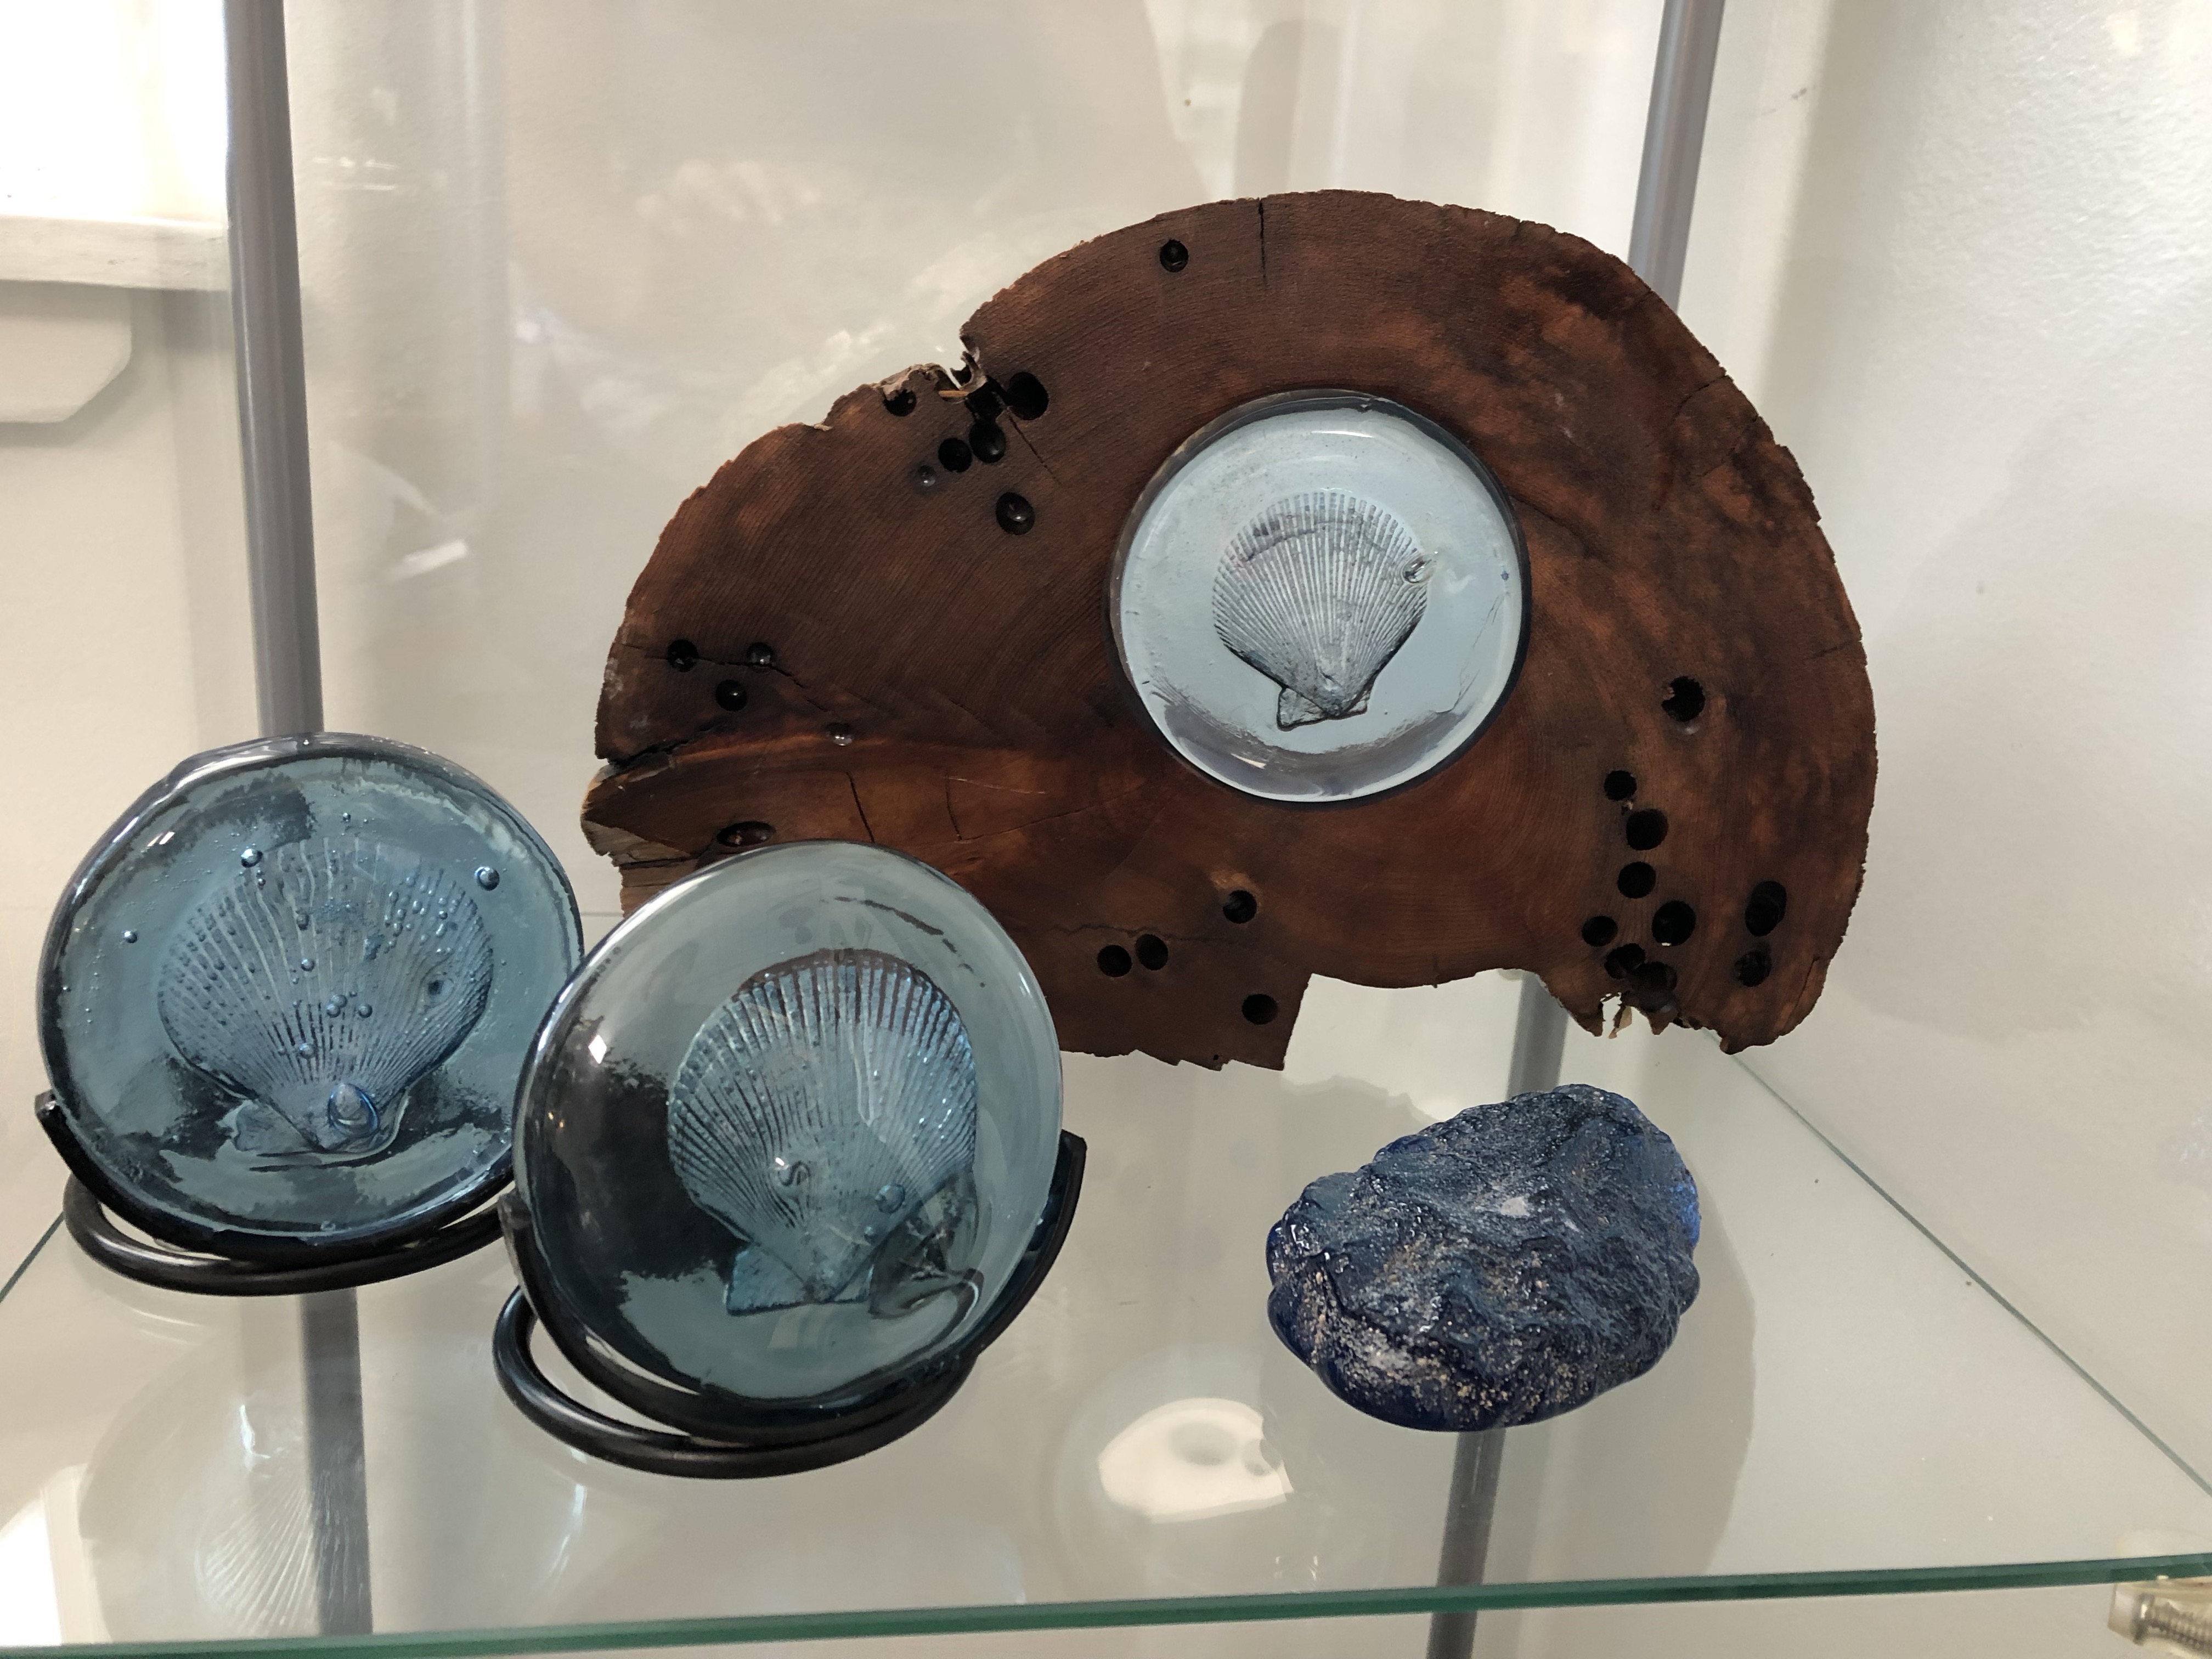
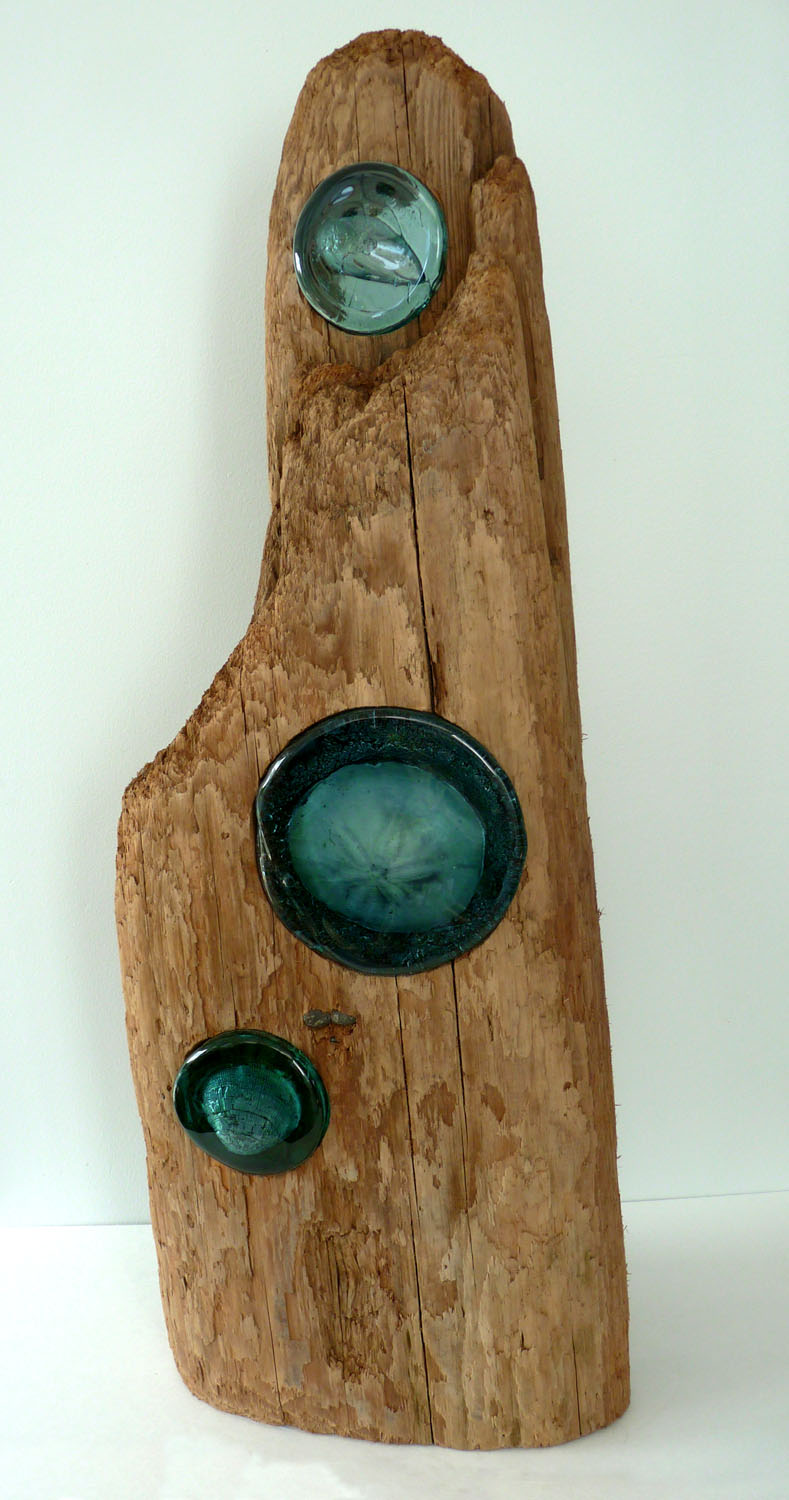
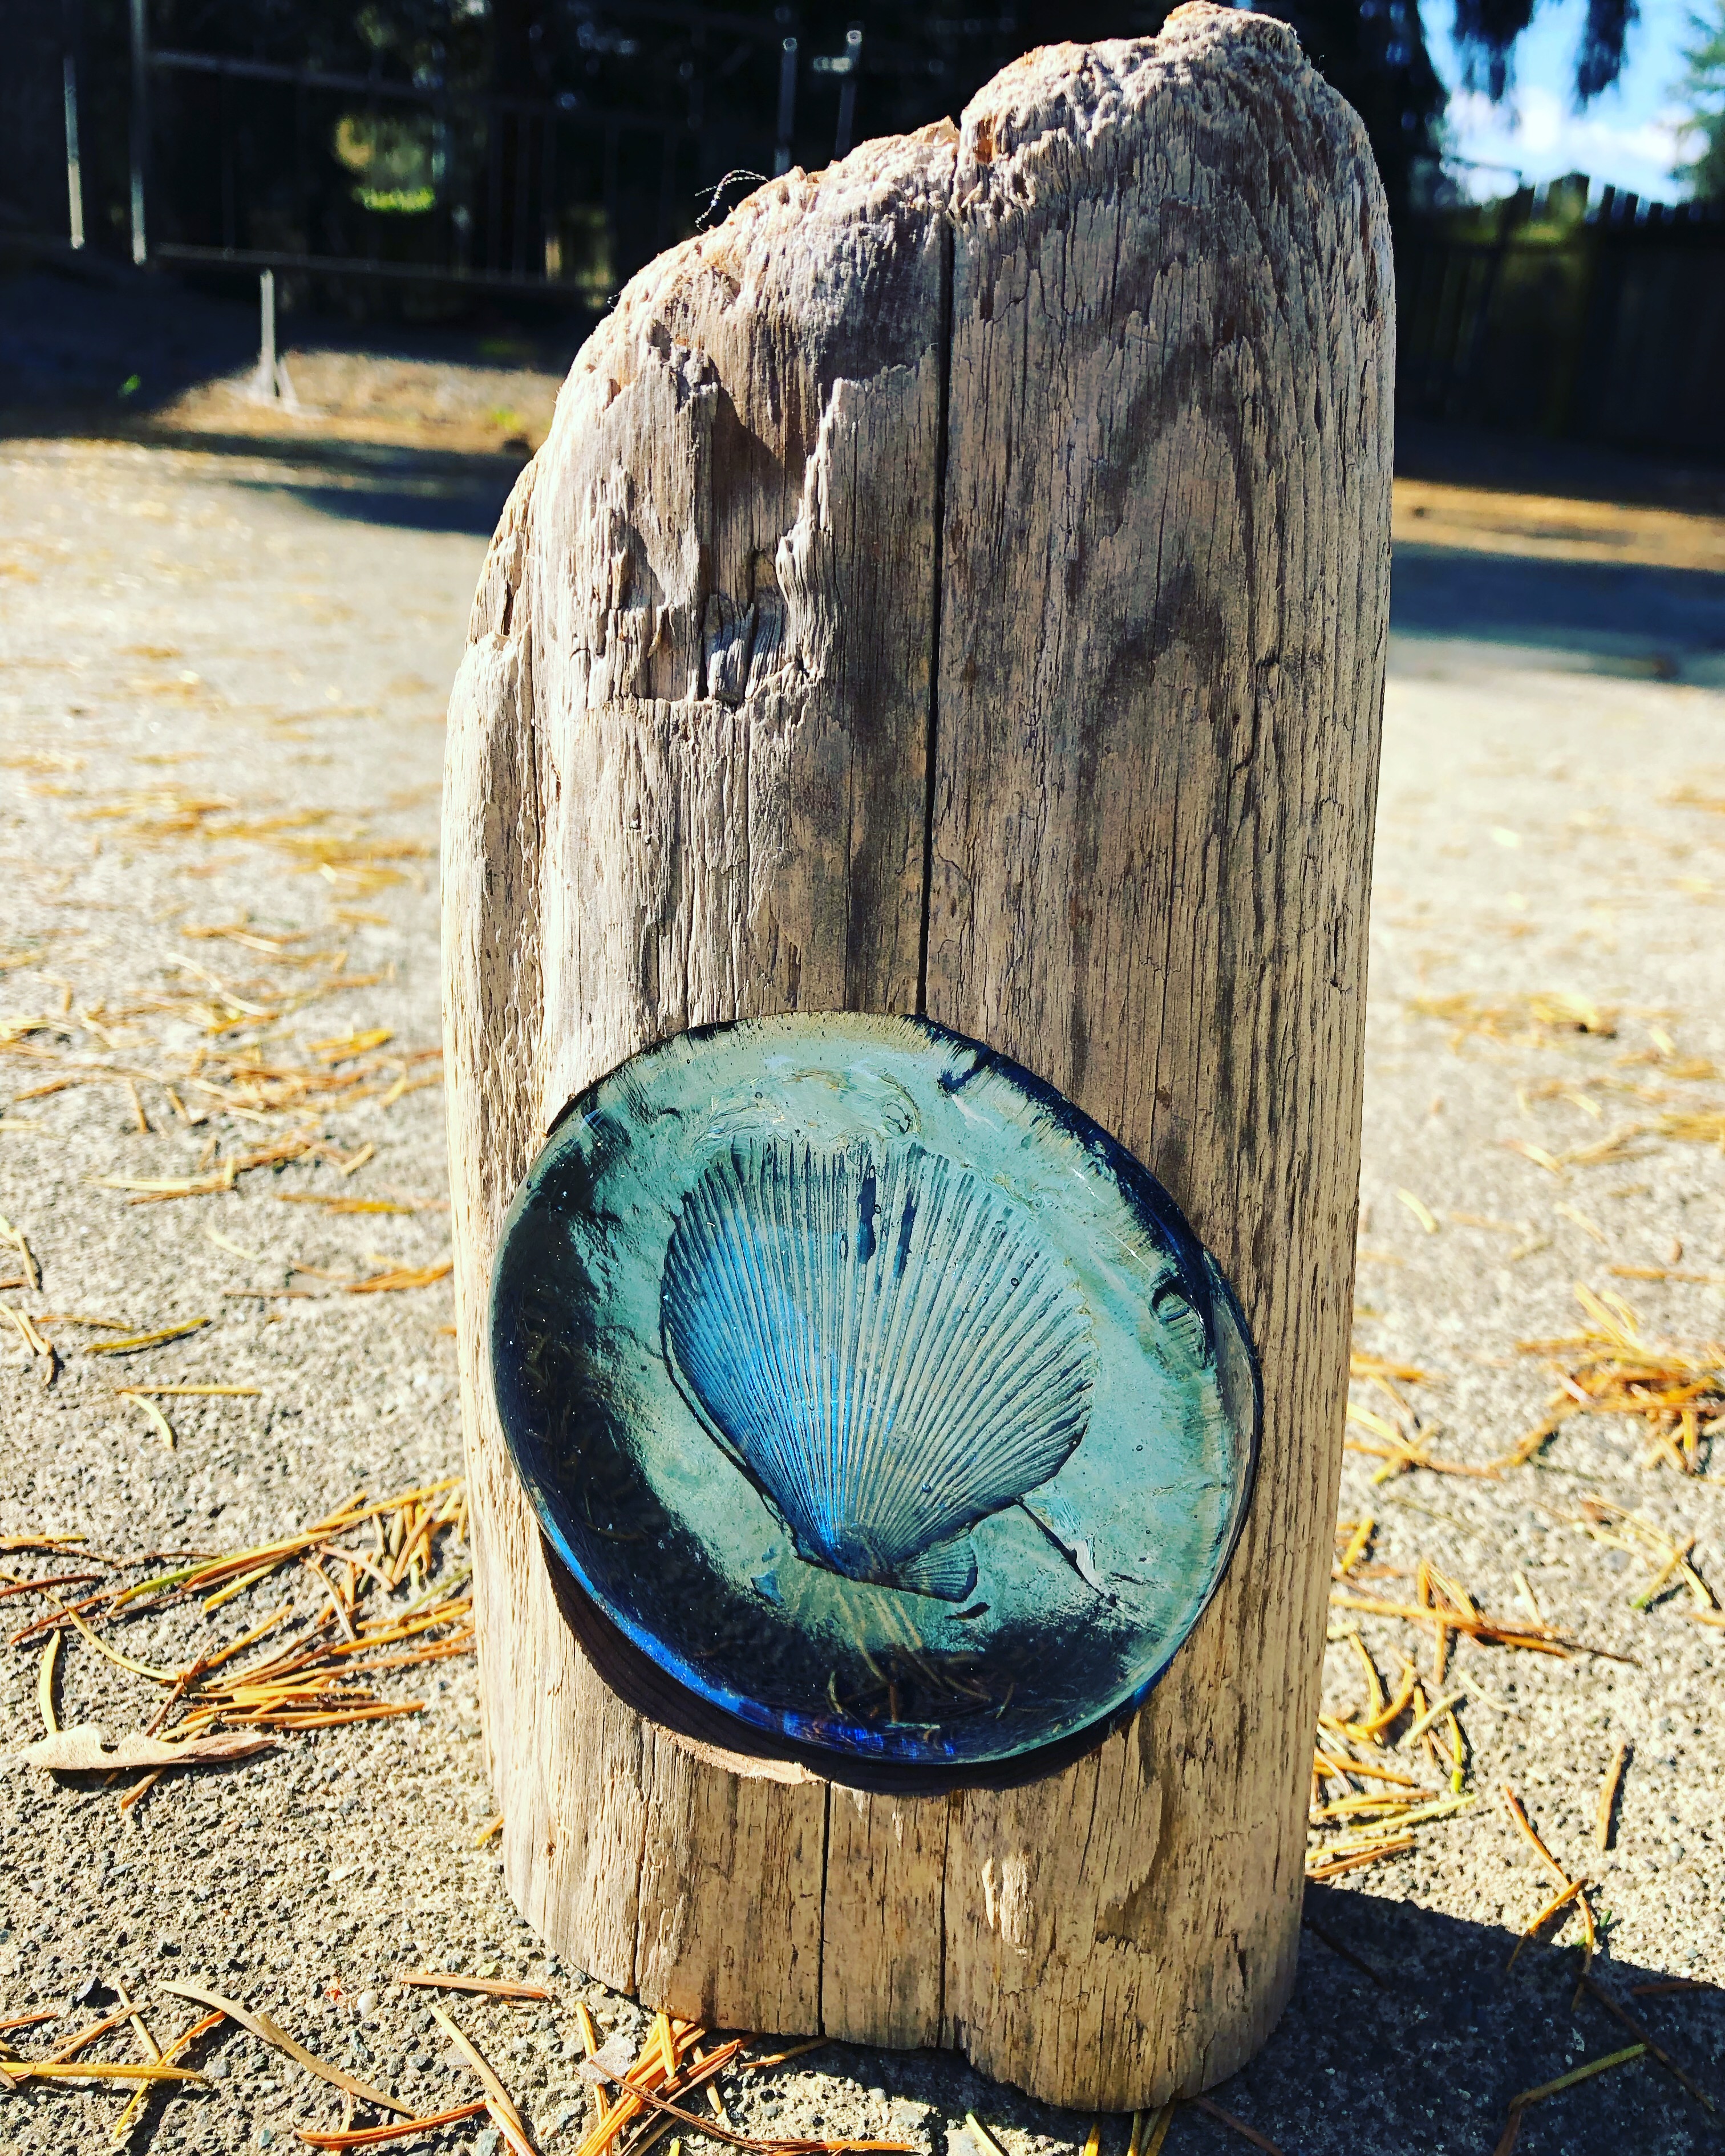
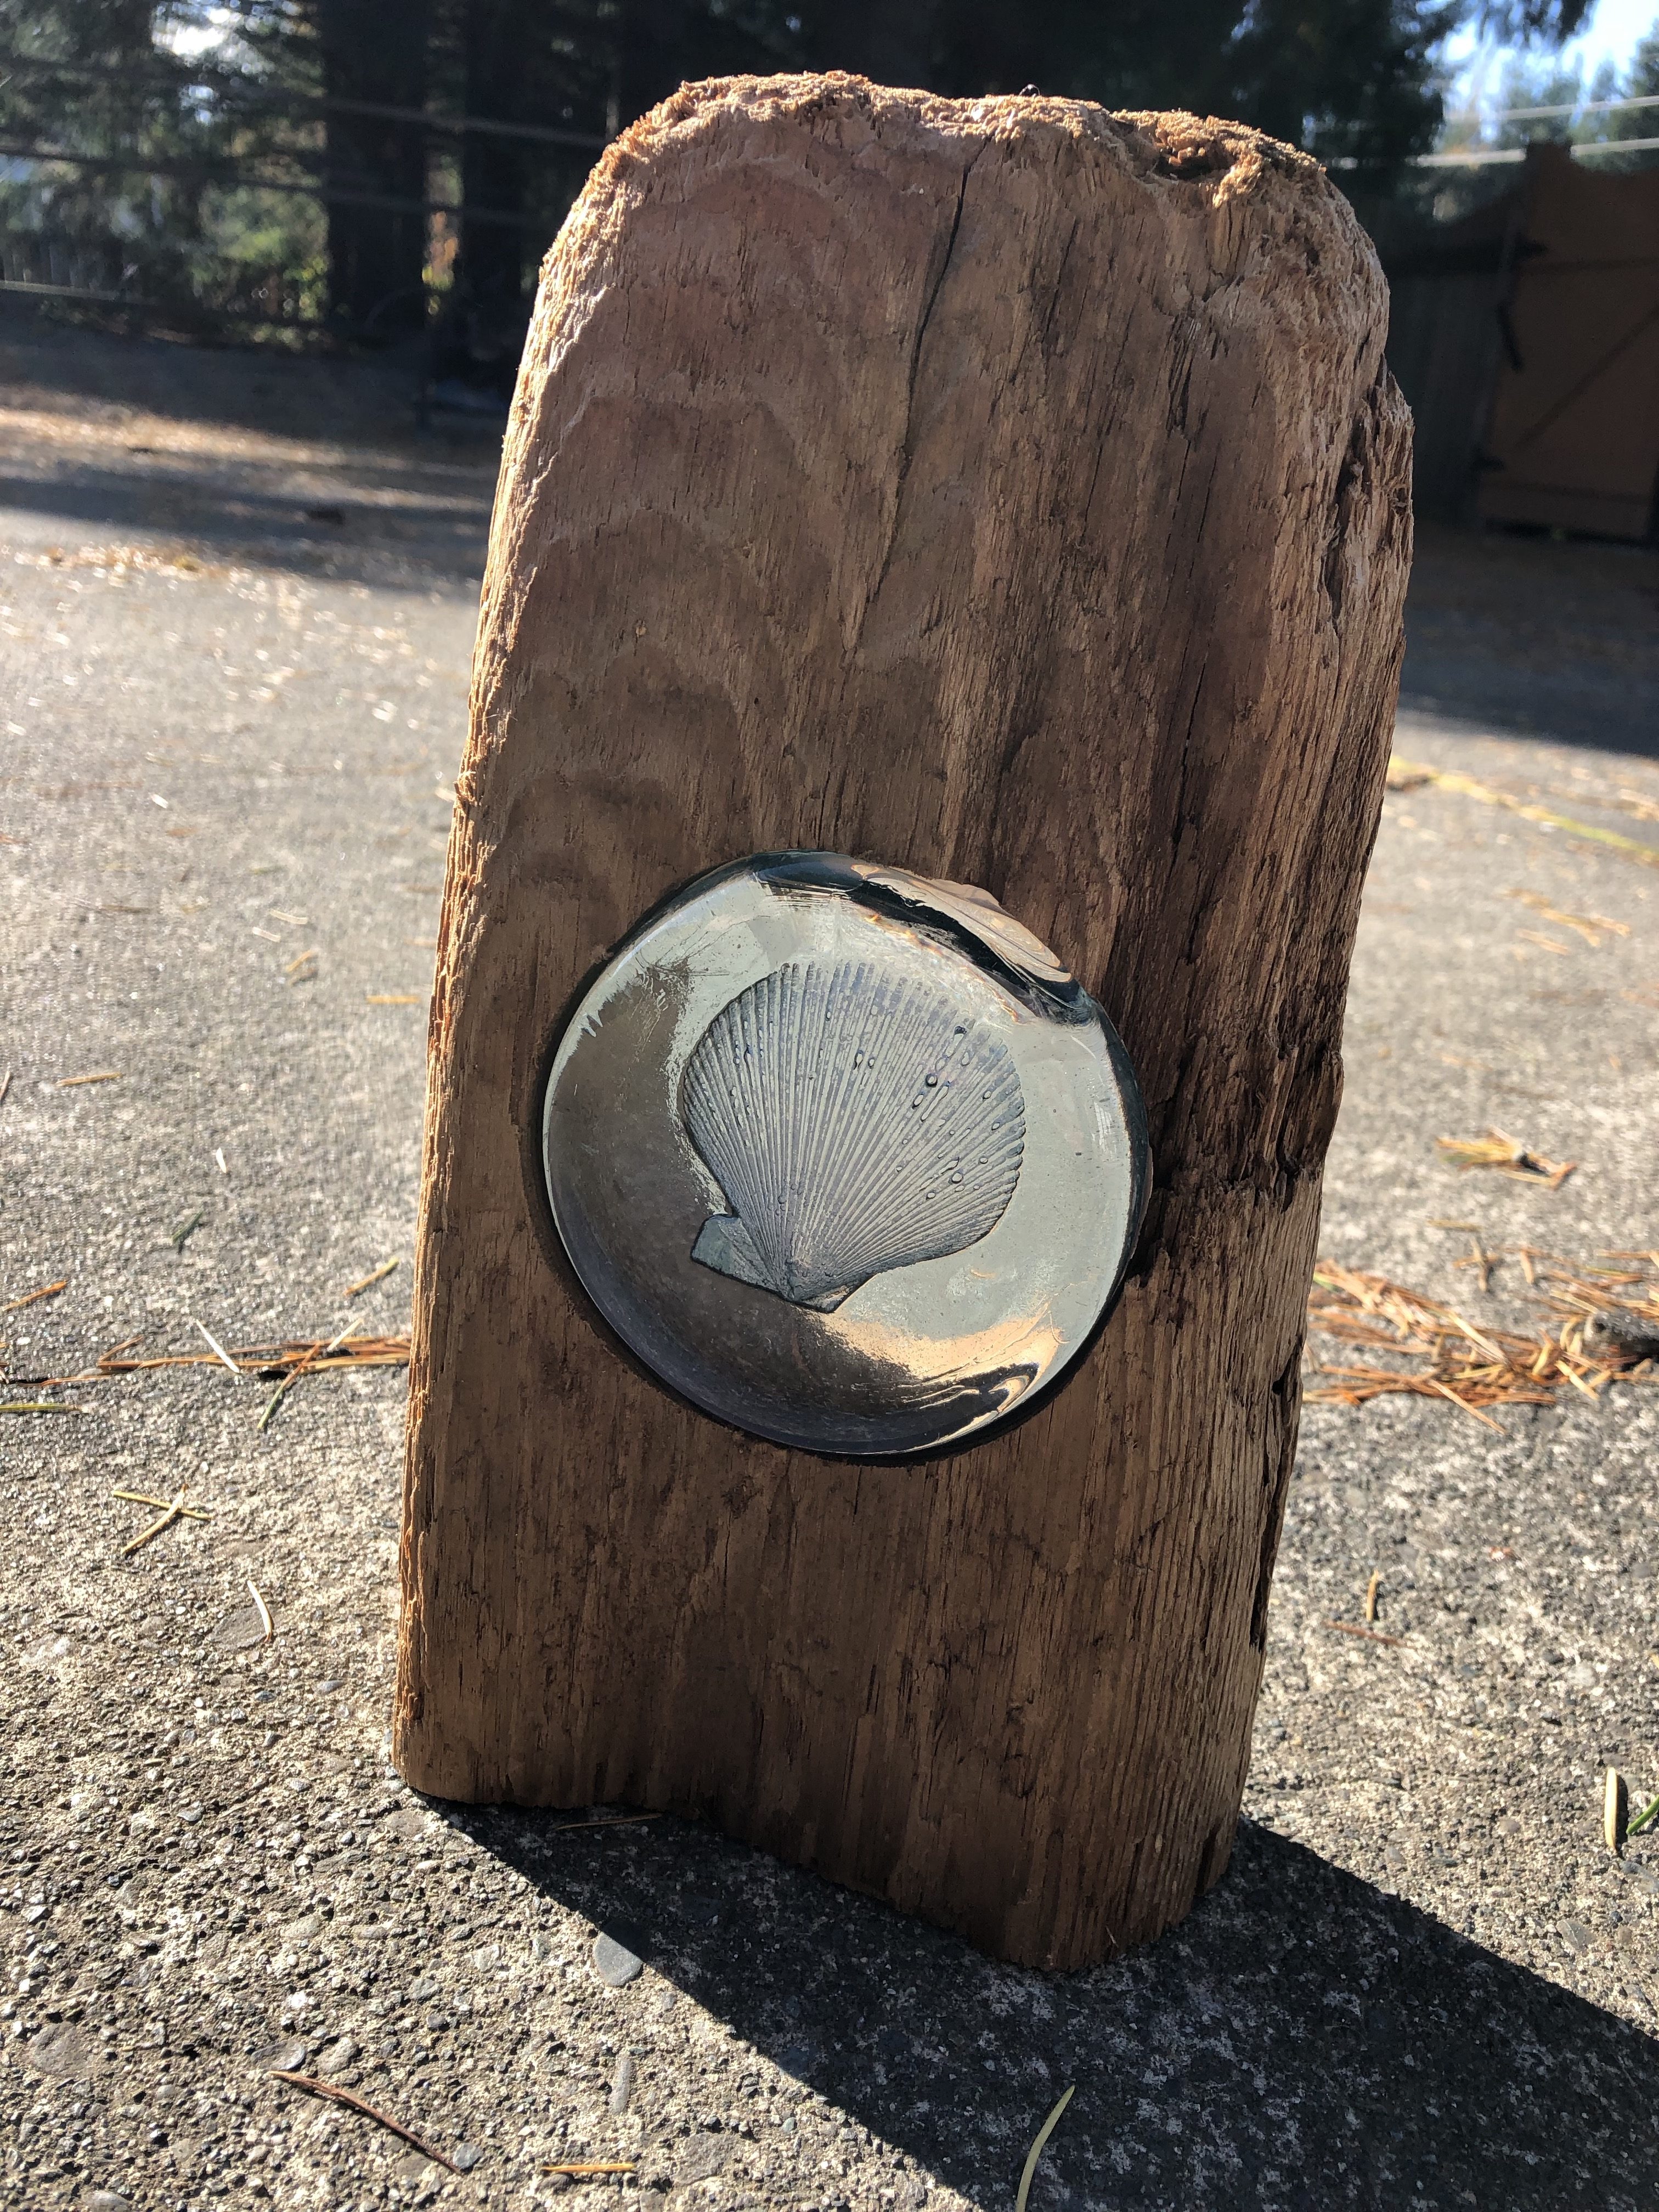
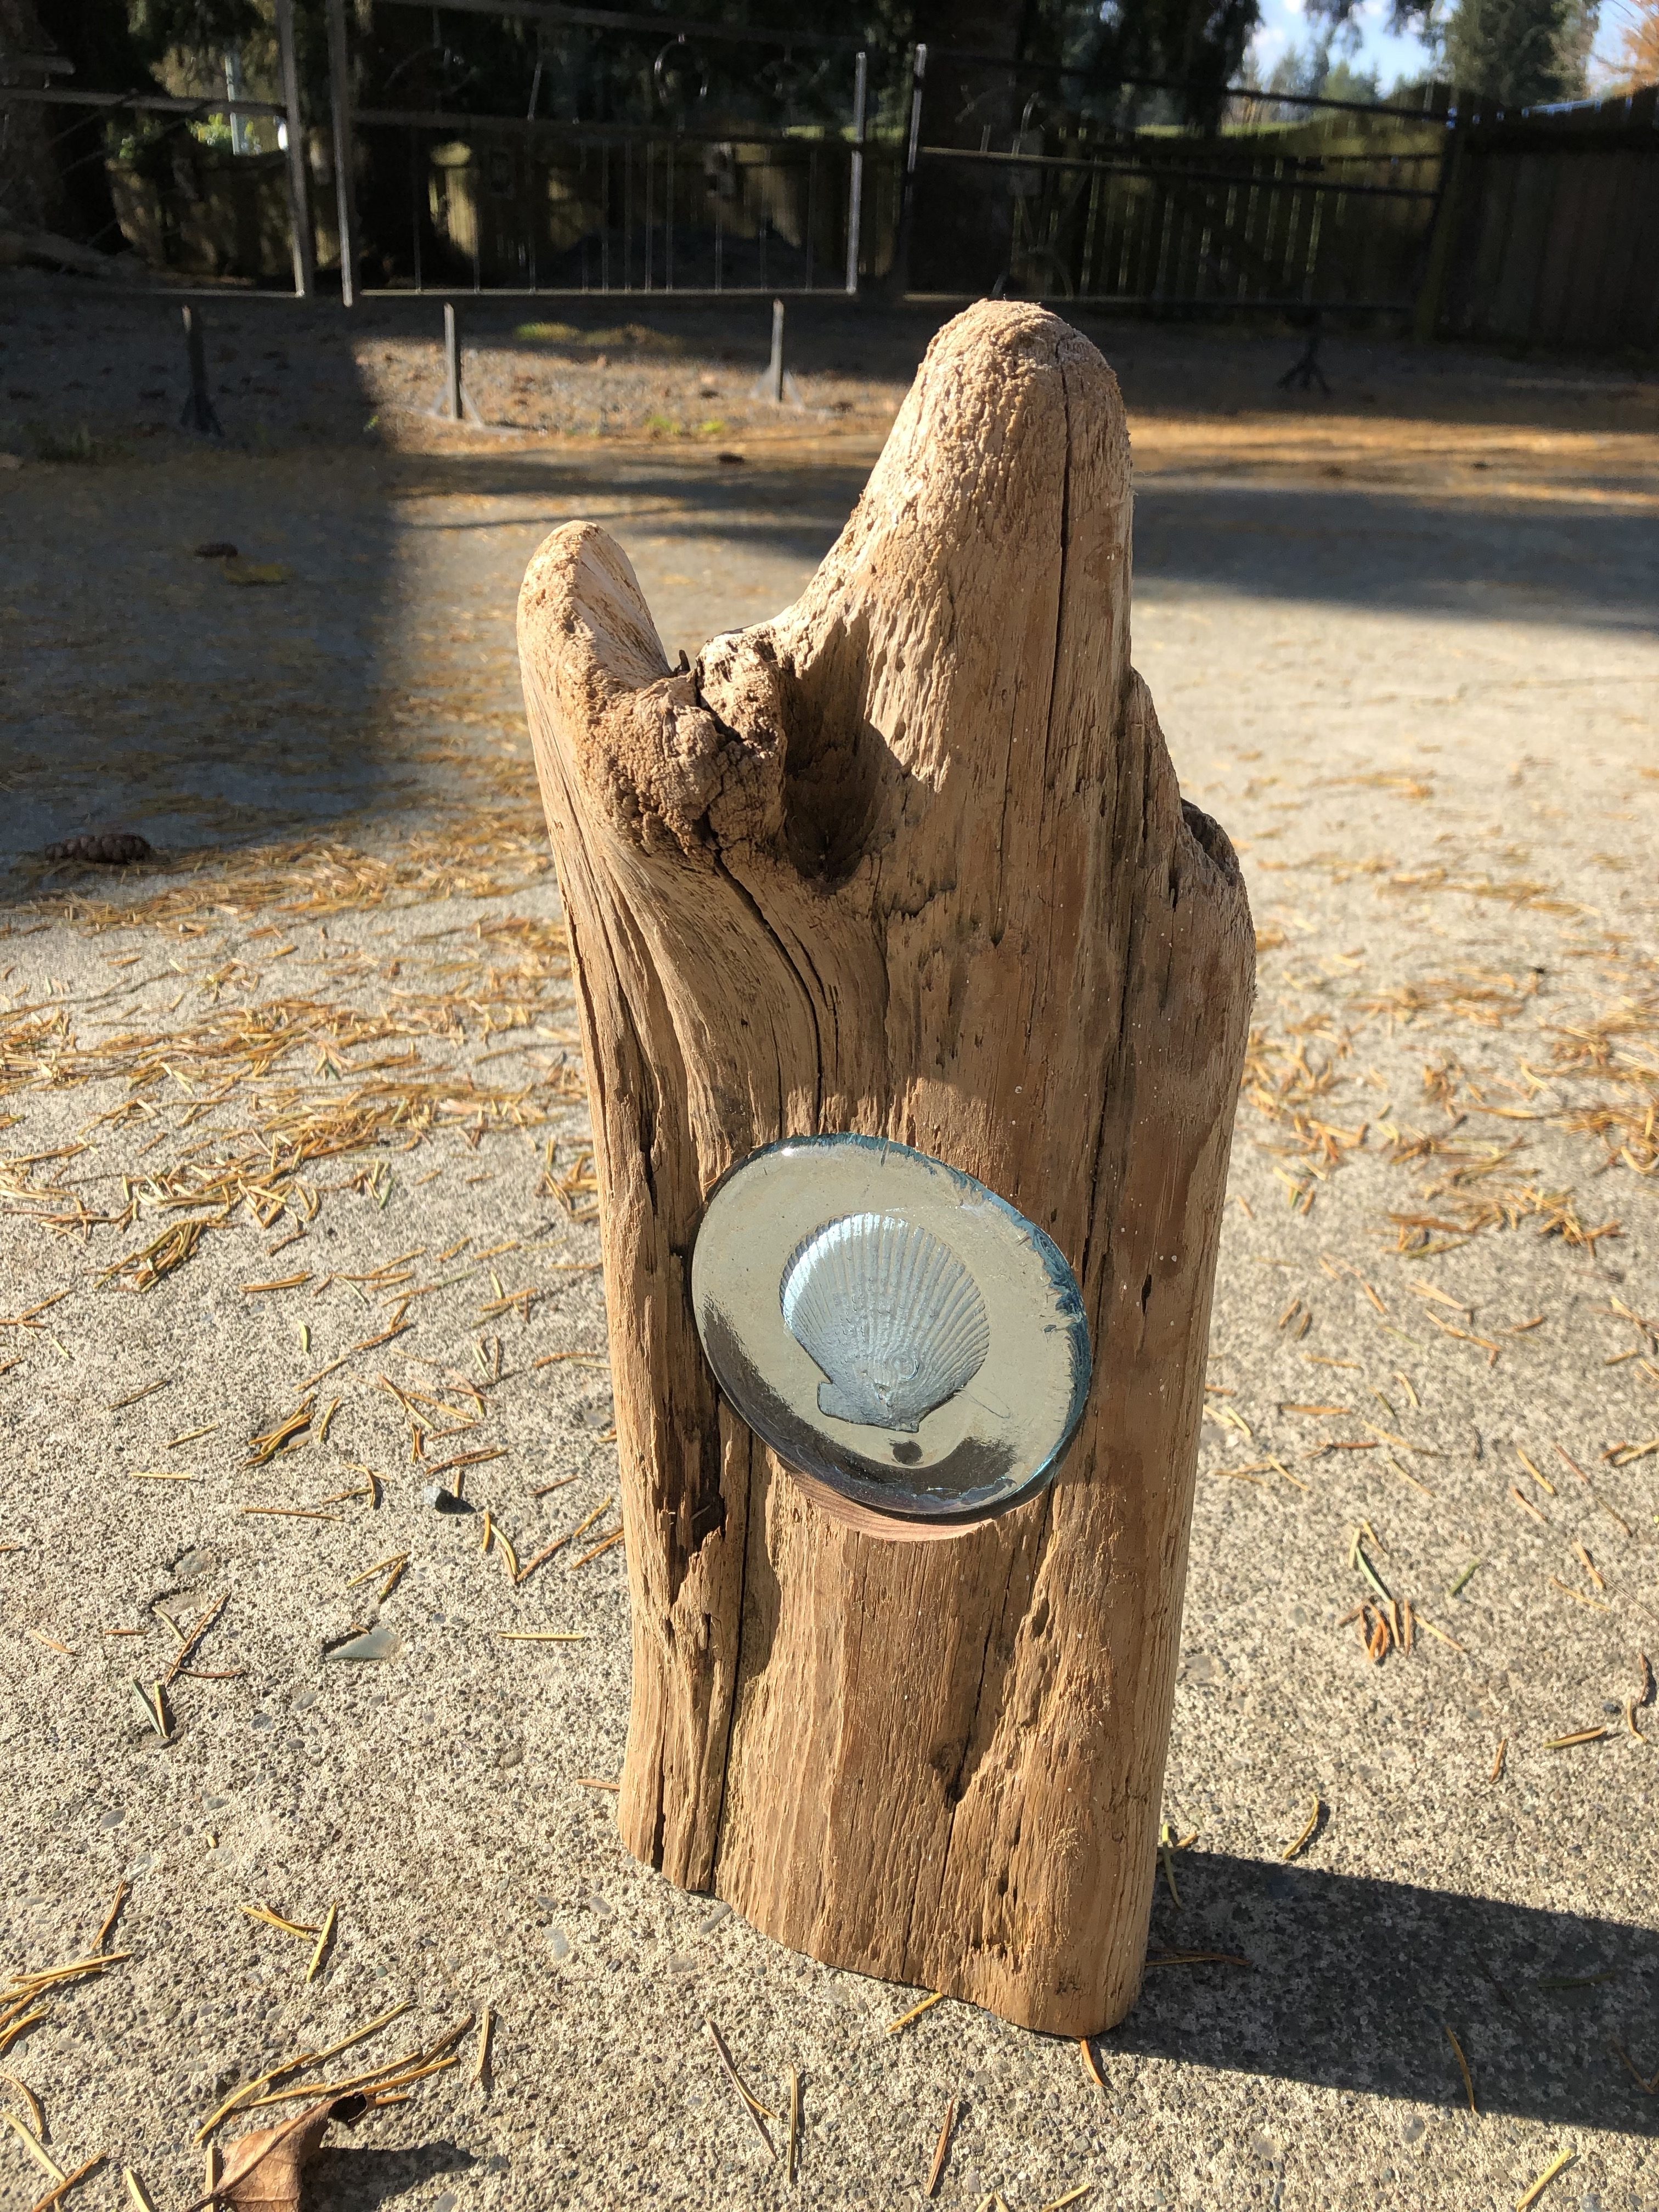
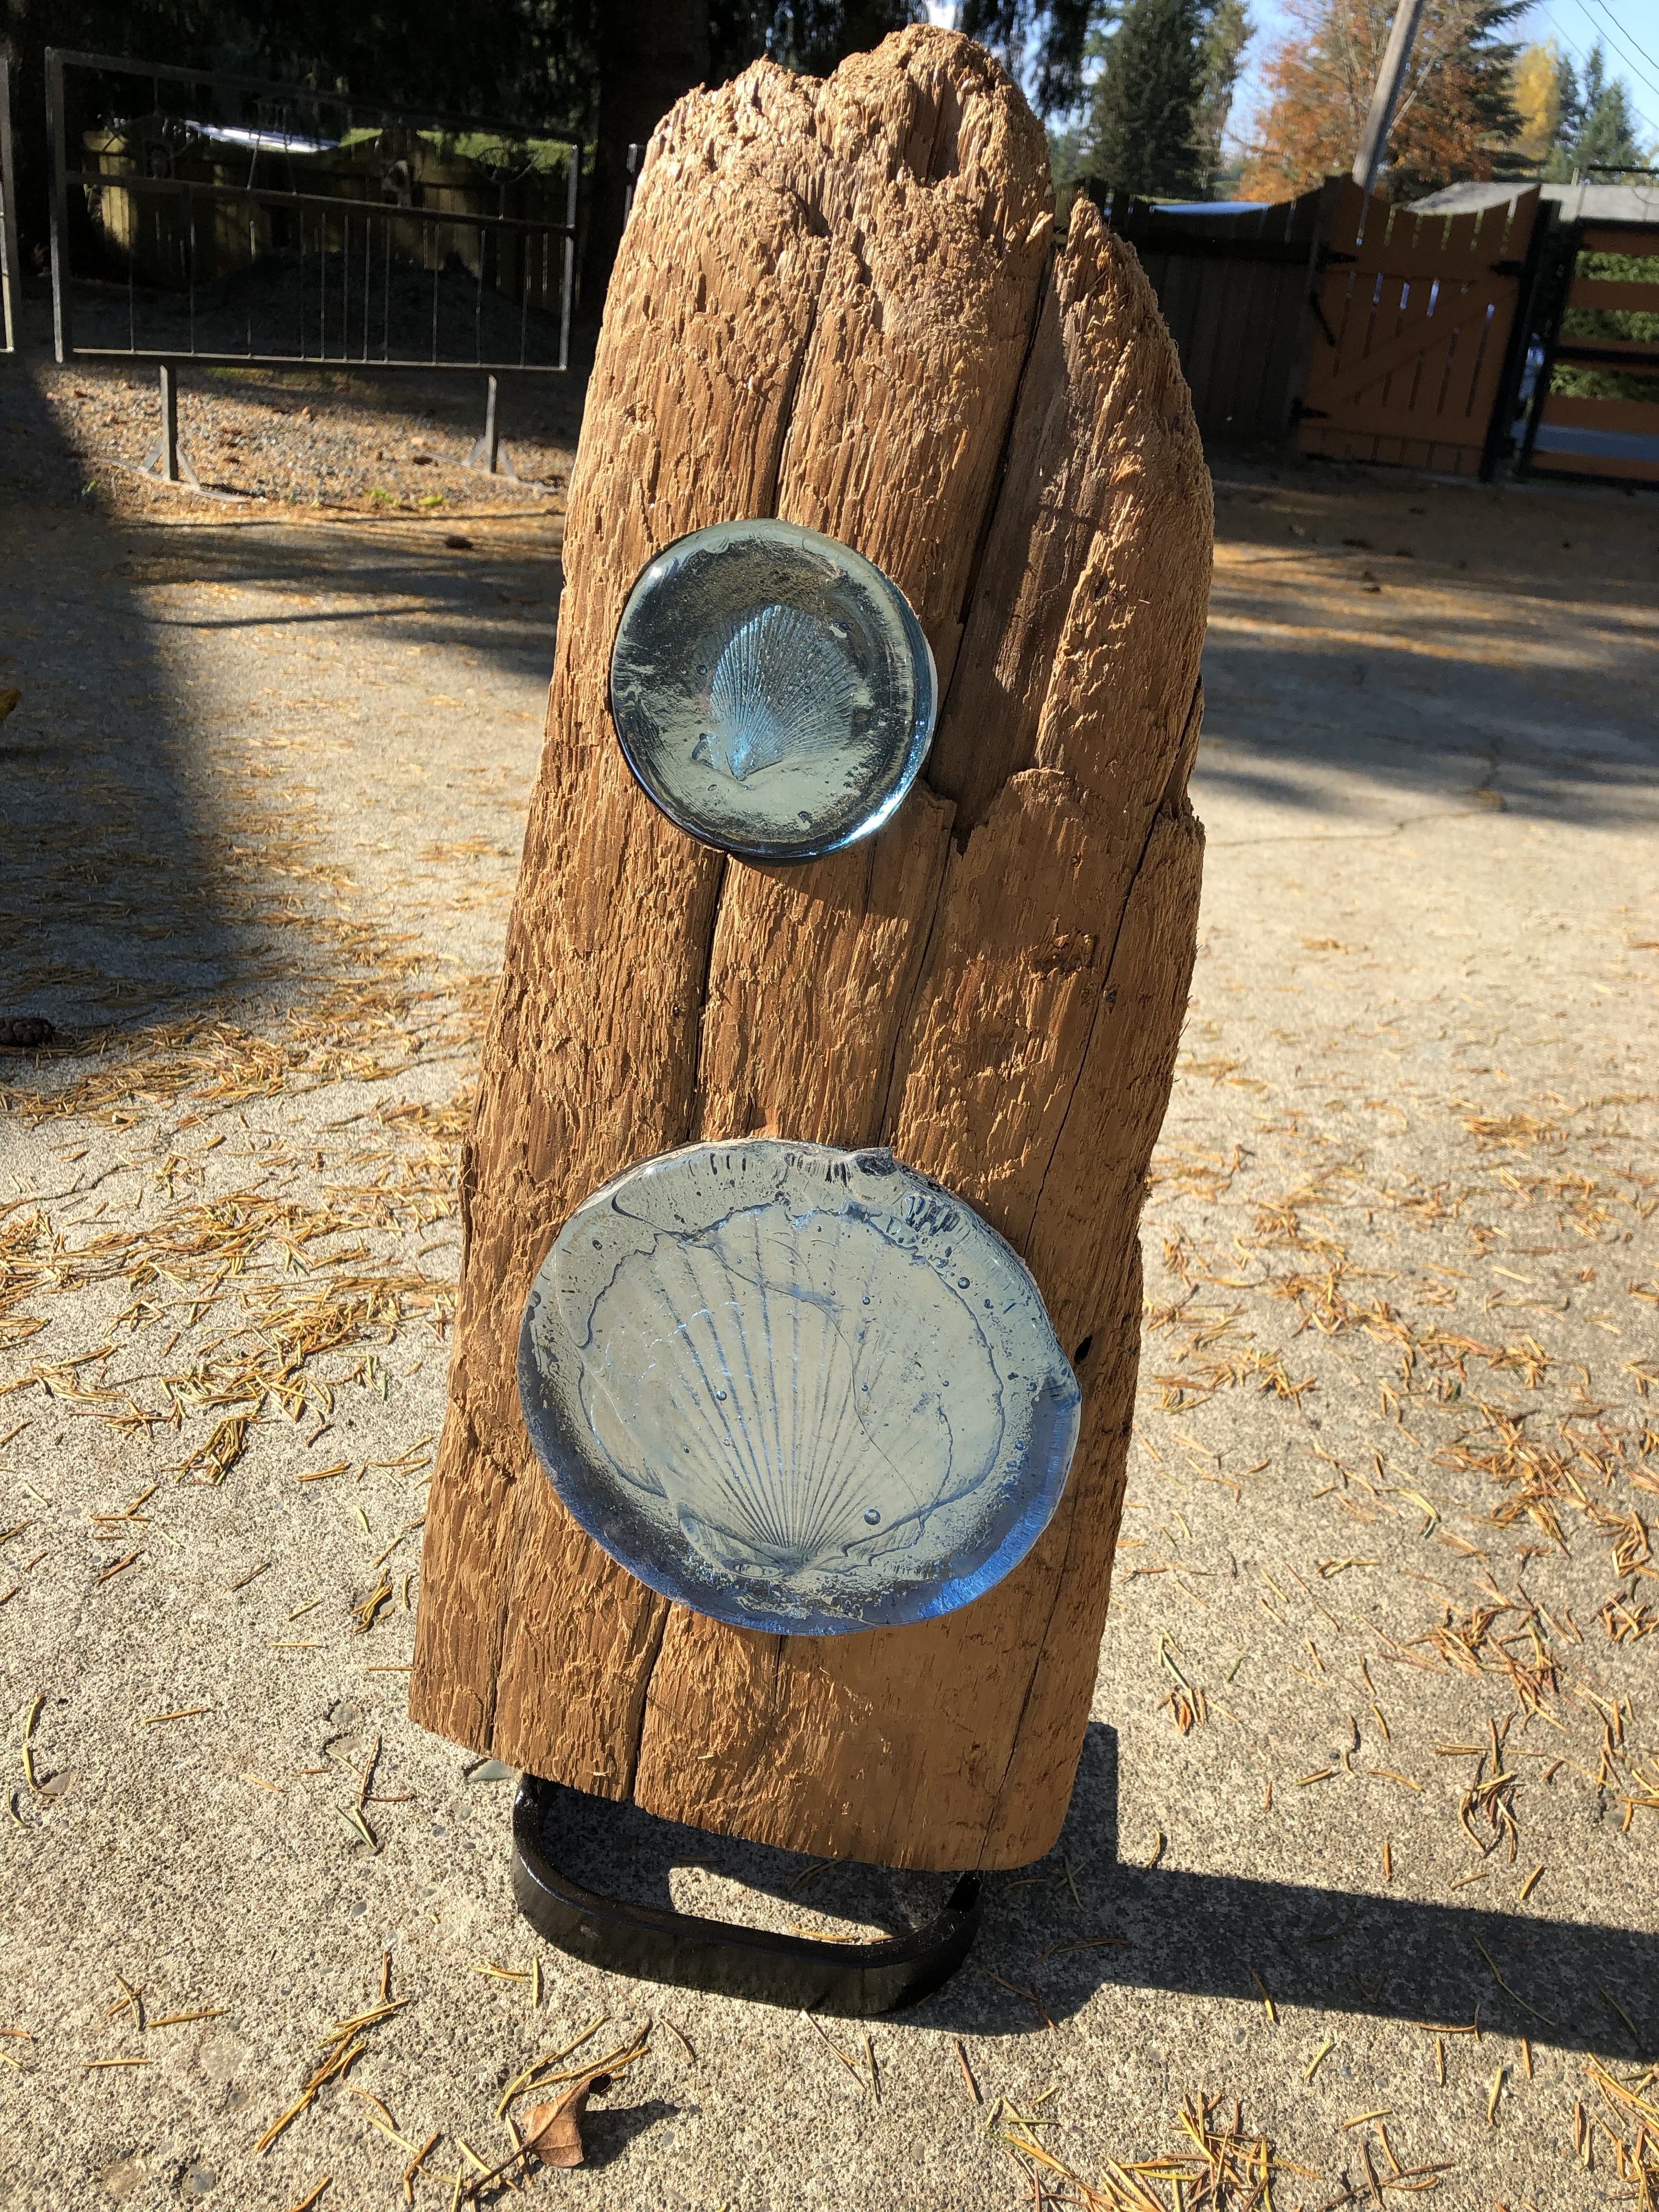
I like to use sea shells, anything organic. Imagine the smell of that organic matter burning because thats what happens when you pour molten glass over it – the glass is about 2130 degrees Fahrenheit. Crab legs, clam shells, and fish skeletons make you want to gag whereas the lavender and the cedar bows mmm delish!
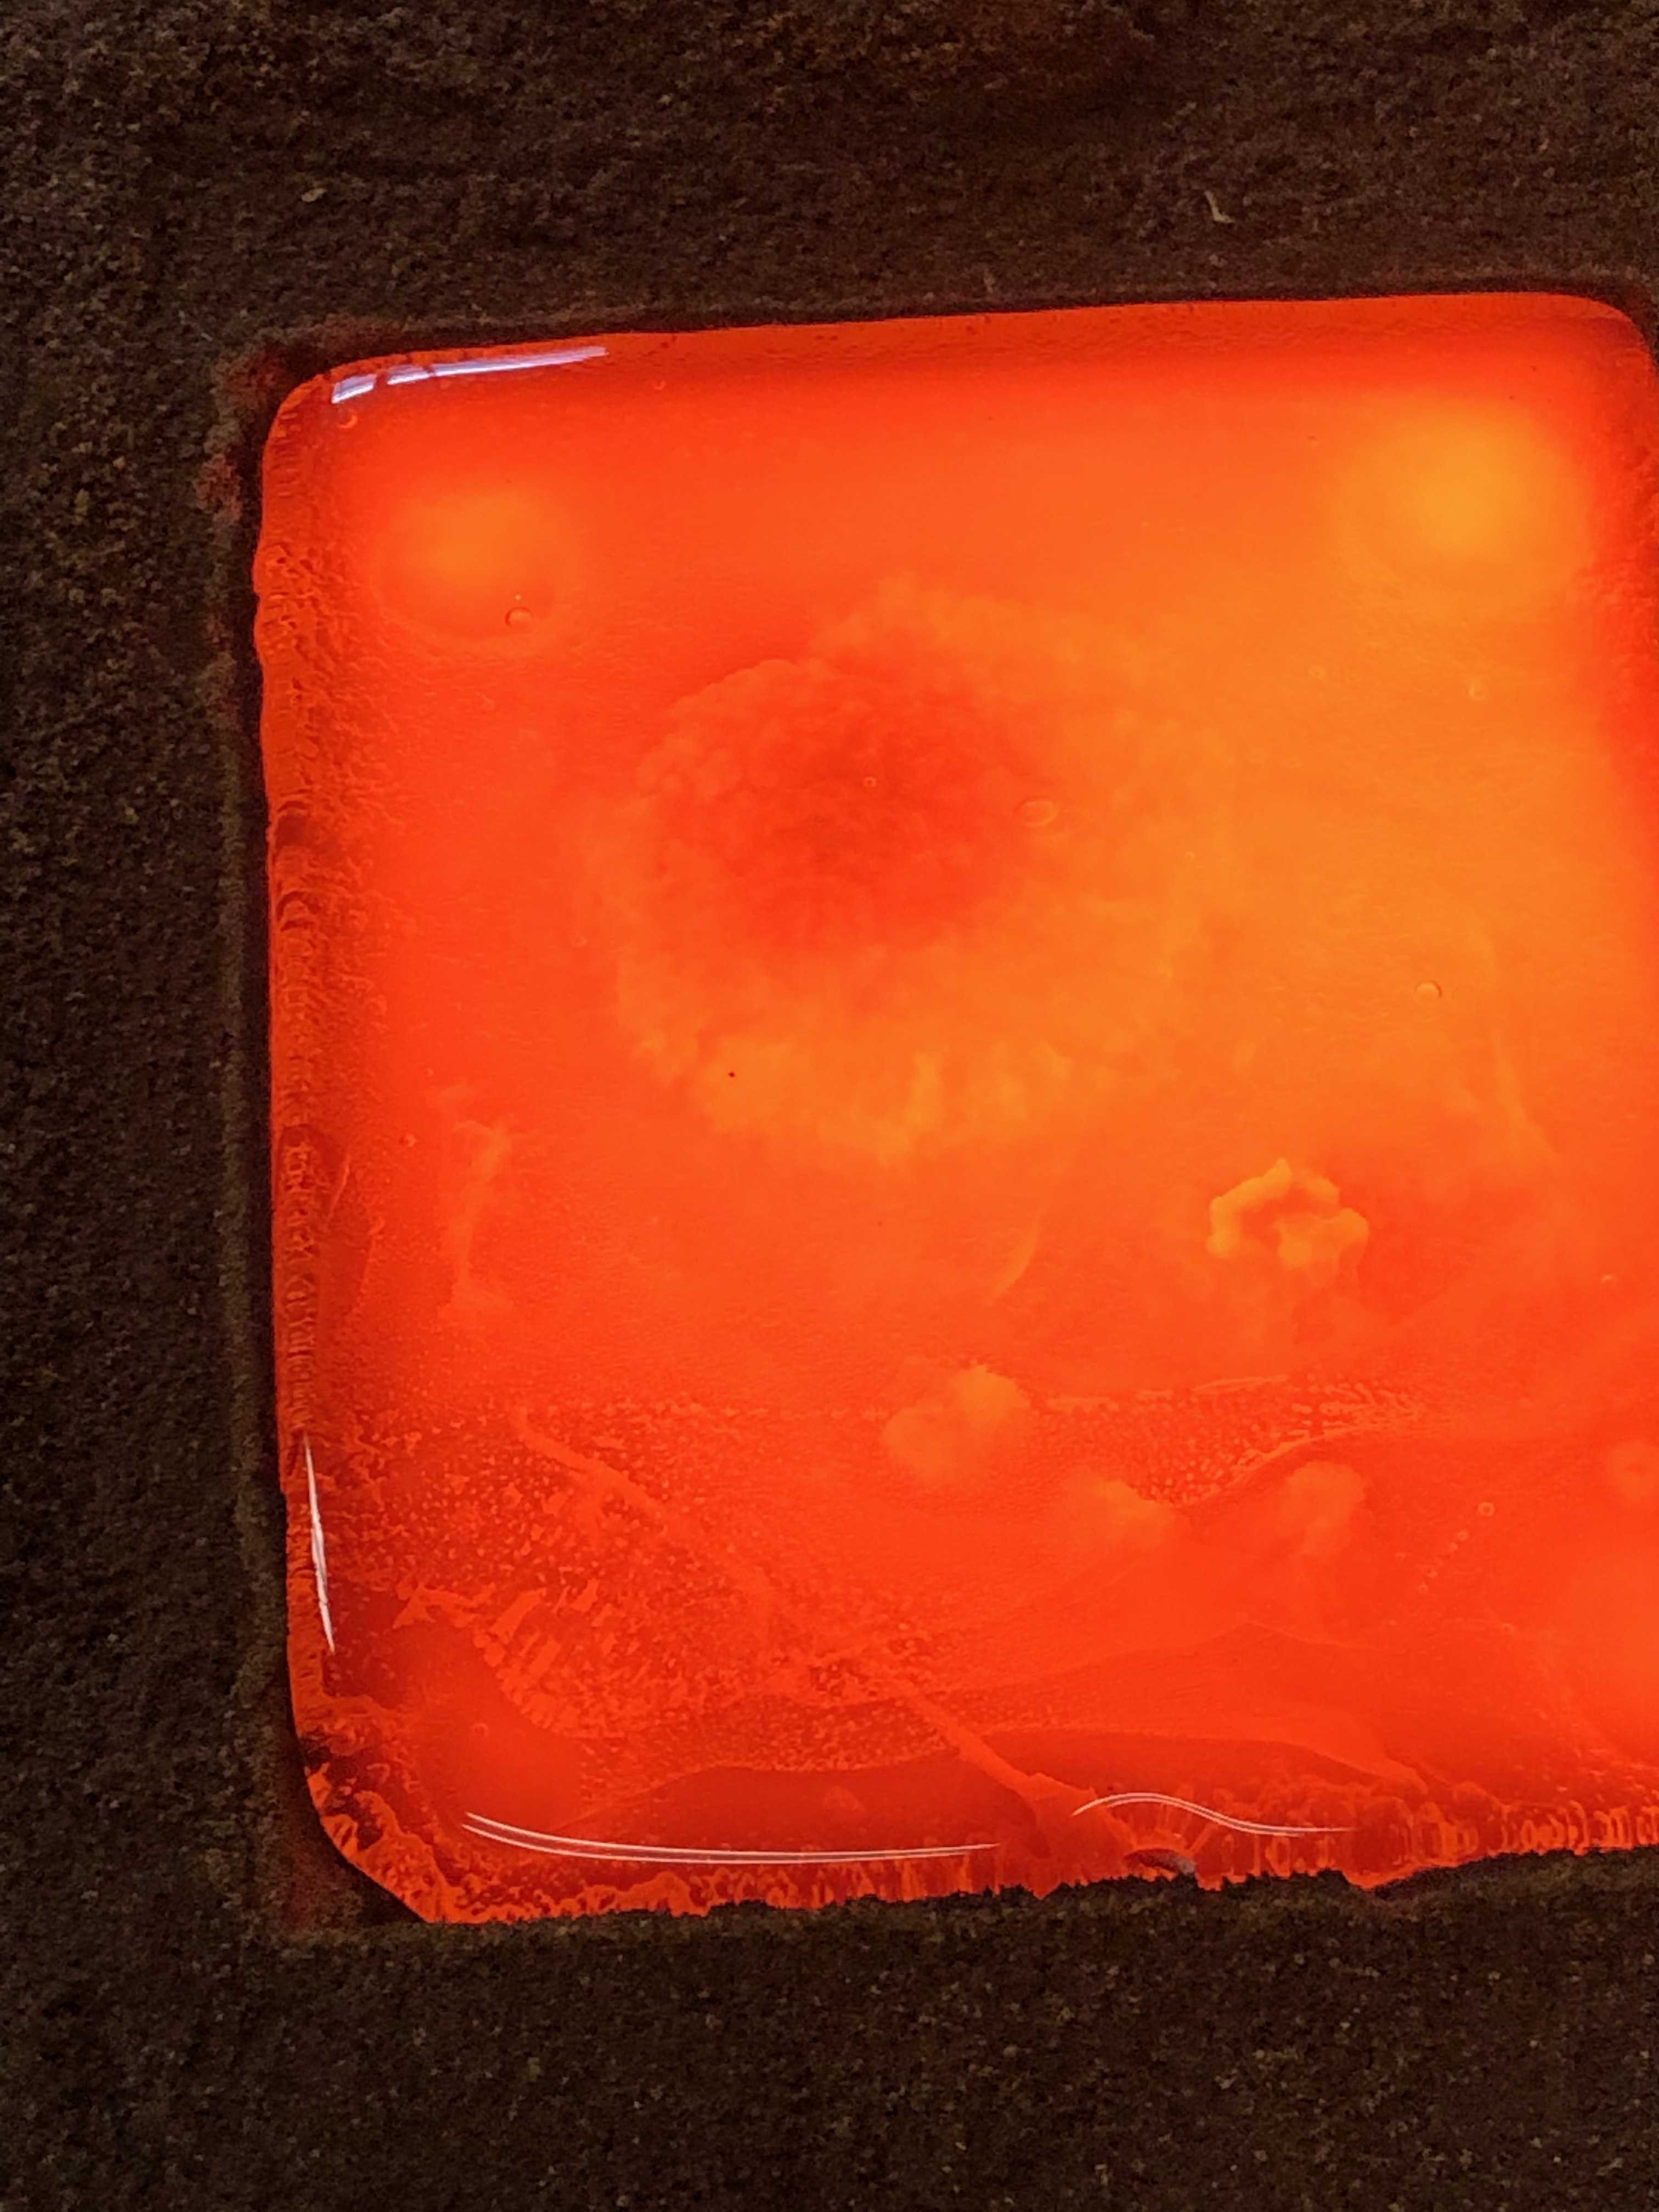
The pour is heavy, and the heat is intense. When your day is complete your shoulders are on fire and your sleep is amazing. Your hair smells of a clam bake but in a few days when you open your annealer – BLISS! I love sand casting!